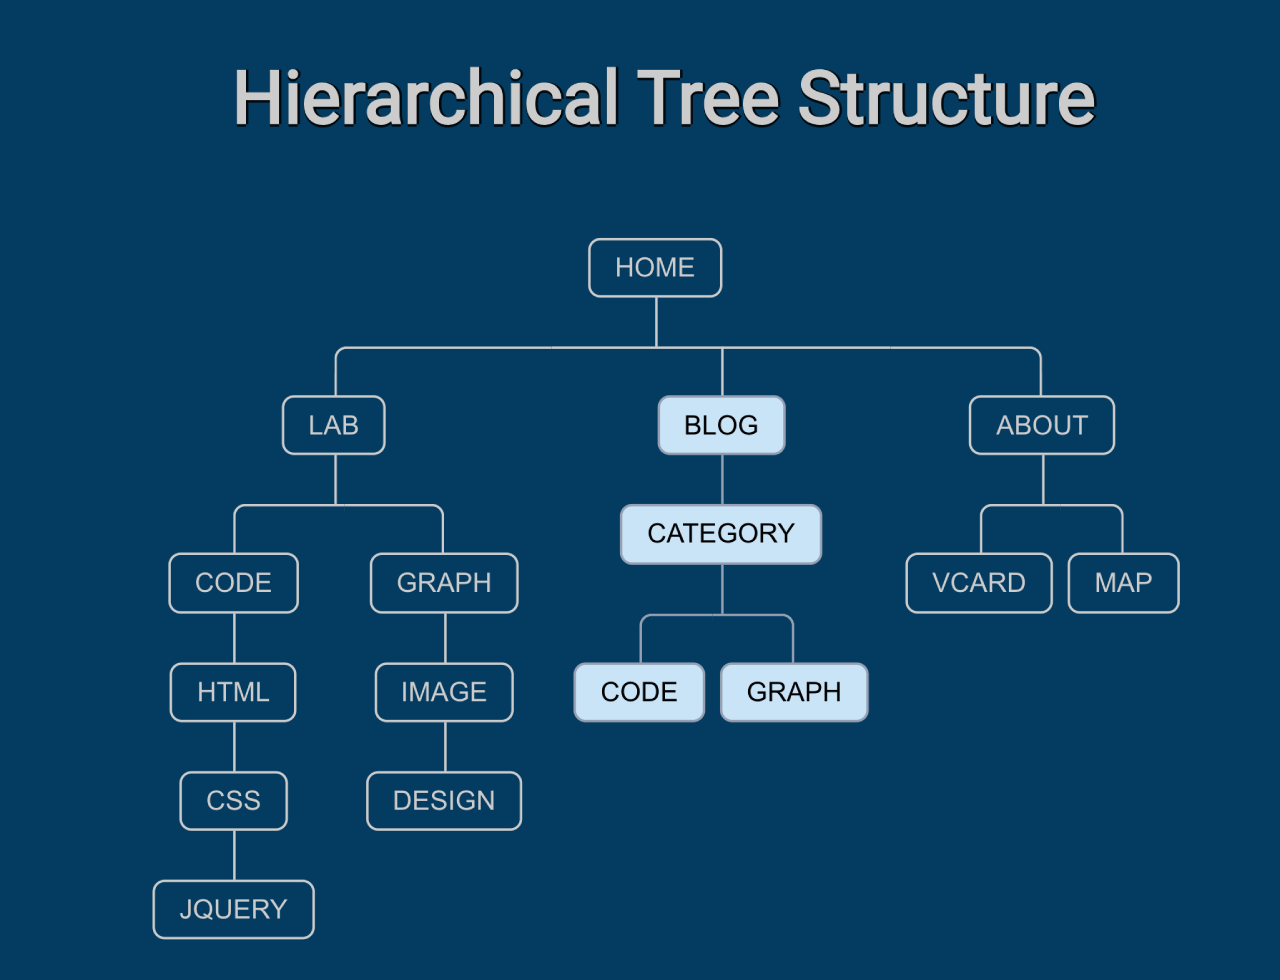

This code creates a hierarchical tree structure in HTML/CSS. It organizes links in nested levels. It helps to visualize navigation with expandable sections. The CSS stylizes the tree for a clean, organized look.
This code is handy for website navigation menus. It organizes links hierarchically, aiding user exploration. Its collapsible structure saves space, improving page organization.
How to Create Hierarchical Tree Structure In Html Css
1. First of all, load the Google Fonts CSS by adding the following CDN links into the head tag of your HTML document. (Optional)
<link href='https://fonts.googleapis.com/css?family=Fjalla+One' rel='stylesheet' type='text/css'>
<meta name="viewport" content="width=device-width, initial-scale=1">
<link rel="stylesheet" href="https://cdnjs.cloudflare.com/ajax/libs/normalize/5.0.0/normalize.min.css">
<link rel='stylesheet' href='https://codepen.io/joellesenne/pen/pdMPdW.css'>
2. In your HTML file, create a structure using nested <ul> and <li> elements. Each <li> represents a navigation item, and nested <ul> elements indicate sub-levels.
<h1>Hierarchical Tree Structure</h1>
<nav class="nav">
			<ul>
				<li>
					<a href="#">Home</a>
					<ul>
						<li>
							<a href="#">Lab</a>
							<ul>
								<li>
									<a href="#">Code</a>
									<ul>
										<li>
											<a href="#">Html</a>
											<ul>
												<li>
													<a href="#">Css</a>
													<ul>
														<li>
															<a href="#">Jquery</a>
														</li>
													</ul>
												</li>
											</ul>
										</li>
									</ul>
								</li>
								<li>
									<a href="#">Graph</a>
									<ul>
										<li>
											<a href="#">Image</a>
											<ul>
												<li>
													<a href="#">Design</a>
												</li>
											</ul>
										</li>
									</ul>
								</li>
							</ul>
						</li>
						<li>
							<a href="#">Blog</a>
							<ul>
								<li>
									<a href="#">Category</a>
									<ul>
										<li>
											<a href="#">Code</a>
										</li>
										<li>
											<a href="#">Graph</a>
										</li>
									</ul>
								</li>
							</ul>
						</li>
						<li>
							<a href="#">About</a>
							<ul>
								<li>
									<a href="#">Vcard</a>

								</li>
								<li>
									<a href="#">Map</a>
								</li>
							</ul>
						</li>
					</ul>
				</li>
			</ul>
		</nav>
3. After that, use the following CSS or customize it to suit your design preferences. The CSS styles the navigation elements, providing the collapsible tree structure and visual presentation.
The CSS classes like .nav, .nav ul, and .nav li target specific elements to create the hierarchical structure. Adjust these classes to modify the appearance or layout of your navigation.
*,
*:before,
*:after {
  box-sizing: border-box !important;
}

* {
  position: relative;
  margin: 0;
  padding: 0;
  border: 0 none;
  transition: all ease .4s;
}

html,
body {
  width: 100%;
  height: 100%;
  font-family: 'Fjalla One', sans-serif;
  font-size: 18px;
  background: RGBA(0, 58, 97, 1)
}

h1 {
  padding-top: 40px;

  color: #ccc;
  text-align: center;
  font-size: 1.8rem;

    text-shadow: rgba(0,0,0,0.6) 1px 0, rgba(0,0,0,0.6) 1px 0, rgba(0,0,0,0.6) 0 1px, rgba(0,0,0,0.6) 0 1px;
}

.nav {
  margin: 20px auto;
  width: 455px;
  min-height: auto;
}

.nav ul {
  position: relative;
  padding-top: 20px;
}

.nav li {
  position: relative;
  padding: 20px 3px 0 3px;
  float: left;

  text-align: center;
  list-style-type: none;
}

.nav li::before, .nav li::after{
  content: '';
  position: absolute;
  top: 0;
  right: 50%;
  width: 50%;
  height: 20px;
  border-top: 1px solid #ccc;
}

.nav li::after{
  left: 50%;
  right: auto;

  border-left: 1px solid #ccc;
}

.nav li:only-child::after, .nav li:only-child::before {
  content: '';
  display: none;
}

.nav li:only-child{ padding-top: 0;}
.nav li:first-child::before, .nav li:last-child::after{
  border: 0 none;
}

.nav li:last-child::before{
  border-right: 1px solid #ccc;
  border-radius: 0 5px 0 0;
}

.nav li:first-child::after{
    border-radius: 5px 0 0 0;
}
.nav ul ul::before{
  content: '';
  position: absolute; top: 0; left: 50%;
  border-left: 1px solid #ccc;
  width: 0;
  height: 20px;
}

.nav li a{
  display: inline-block;
  padding: 5px 10px;

  border-radius: 5px;
  border: 1px solid #ccc;

  text-decoration: none;
  text-transform: uppercase;
  color: #ccc;
  font-family: arial, verdana, tahoma;
  font-size: 11px;
}

.nav li a:hover, .nav li a:hover+ul li a {
  color: #000;
  background: #c8e4f8;
  border: 1px solid #94a0b4;
}

.nav li a:hover+ul li::after,
.nav li a:hover+ul li::before,
.nav li a:hover+ul::before,
.nav li a:hover+ul ul::before{
  content: '';
  border-color: #94a0b4;
}
You can expand the navigation by adding more <li> elements or nesting additional <ul> elements as needed. Customize the text, links, and styling to match your website’s content and design
That’s all! hopefully, you have successfully created a Hierarchical Tree Structure nav on your website. If you have any questions or suggestions, feel free to comment below.
Similar Code Snippets:
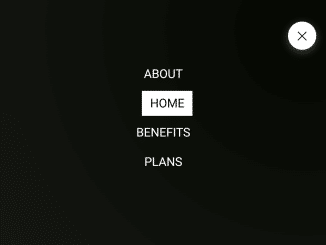
 Flyout Menu with Scroll Animation
- Responsive Hamburger Menu CSS Only
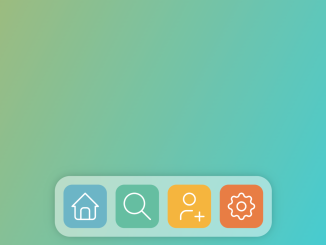
- Dock Navbar Using HTML and CSS


I code and create web elements for amazing people around the world. I like work with new people. New people new Experiences.
I truly enjoy what I’m doing, which makes me more passionate about web development and coding. I am always ready to do challenging tasks whether it is about creating a custom CMS from scratch or customizing an existing system.