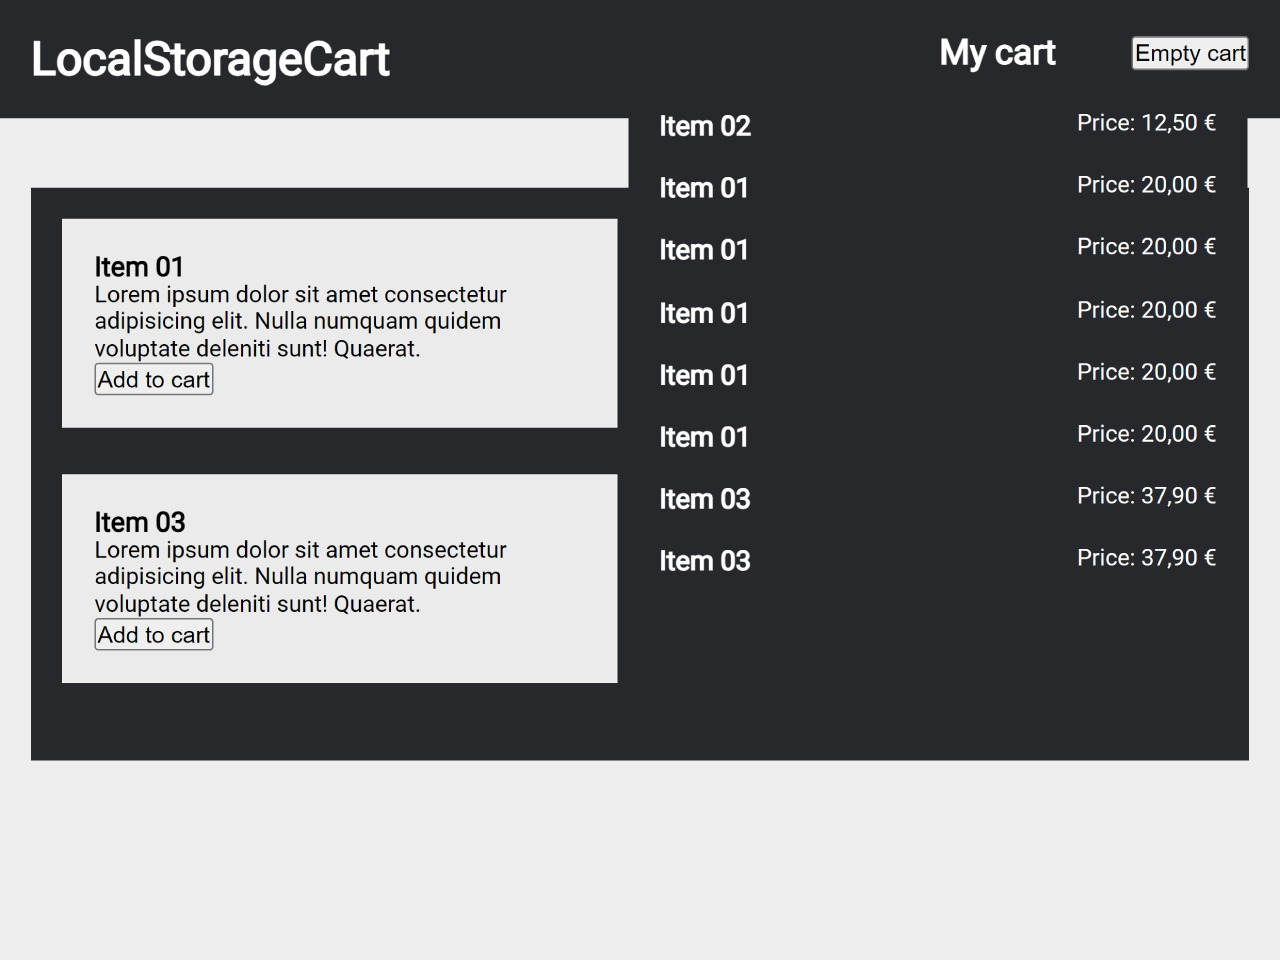

This code snippet provides functionality to manage a shopping cart using JavaScript and local storage. It allows you to add items to a cart, display the cart’s contents, and empty the cart.
This code works by utilizing JavaScript functions for adding, retrieving, and deleting cart items in local storage. It helps you create a simple shopping cart for your website, making it easy to manage items added by users.
You can use this code in your e-commerce web projects to implement a user-friendly shopping cart feature. It helps improve the user experience by allowing customers to add and view items in their cart.
How to Create Add To Cart Using JavaScript and Local Storage
1. First of all, load the Normalize CSS by adding the following CDN link into the head tag of your HTML document.
<link rel="stylesheet" href="https://cdnjs.cloudflare.com/ajax/libs/normalize/5.0.0/normalize.min.css">
2. Create the HTML structure for the shopping cart as follows. It contains sections for the header, main content, and buttons for adding items to the cart. Ensure the necessary classes are in place for styling and functionality.
<header class="header">
  <div class="header__wrapper">
    <h1 class="header__headline">LocalStorageCart</h1>

    <section class="cart">
      <h2 class="cart__headline">My cart</h2>
      <button id="js-delete-cart">Empty cart</button>
      <ul class="cart__shoppingList" id="js-item-list"></ul>
    </section>
  </div>
</header>

<main class="main">
  <ul class="main__wrapper">

    <li class="teaser">
      <div class="teaser__wrapper">
        <h3 class="teaser__headline">Item 01</h3>
        <p>Lorem ipsum dolor sit amet consectetur adipisicing elit. Nulla numquam quidem voluptate deleniti sunt! Quaerat.</p>
        <p><button class="teaser__cta js-buy-button" data-title="Item 01" data-price="20,00 €">Add to cart</button>
      </div>
    </li>

    <li class="teaser">
      <div class="teaser__wrapper">
        <h3 class="teaser__headline">Item 02</h3>
        <p>Lorem ipsum dolor sit amet consectetur adipisicing elit. Nulla numquam quidem voluptate deleniti sunt! Quaerat.</p>
        <p><button class="teaser__cta js-buy-button" data-title="Item 02" data-price="12,50 €">Add to cart</button>
      </div>
    </li>

    <li class="teaser">
      <div class="teaser__wrapper">
        <h3 class="teaser__headline">Item 03</h3>
        <p>Lorem ipsum dolor sit amet consectetur adipisicing elit. Nulla numquam quidem voluptate deleniti sunt! Quaerat.</p>
        <p><button class="teaser__cta js-buy-button" data-title="Item 03" data-price="37,90 €">Add to cart</button>
      </div>
    </li>

  </ul>
</main>
3. Now, add the following CSS code to your project to style the basic interface of the shopping cart. You can modify the CSS rules according to your needs.
.header {
  background: #26282c;
  color: #fff;
  position: fixed;
  top: 0;
  left: 0;
  width: 100%;
}
.header__wrapper {
  padding: 20px;
  display: flex;
  flex-direction: row;
  flex-wrap: nowrap;
  justify-content: space-between;
  align-content: stretch;
  align-items: flex-start;
  max-width: 1280px;
  margin: 0 auto;
}
.header__headline {
  margin: 0;
}

.cart {
  width: 200px;
  position: relative;
  display: flex;
  flex-direction: row;
  flex-wrap: nowrap;
  justify-content: space-between;
  align-content: stretch;
  align-items: center;
}
.cart__headline {
  margin: 0;
}
.cart__shoppingList {
  list-style: none;
  padding: 0;
  position: absolute;
  right: -20px;
  top: 40px;
  width: 400px;
  background: #26282c;
}
.cart__shoppingList__item {
  display: flex;
  flex-direction: row;
  flex-wrap: nowrap;
  justify-content: space-between;
  align-content: stretch;
  align-items: flex-start;
  padding: 10px 20px;
}
.cart__shoppingList__item h3, .cart__shoppingList__item p {
  margin: 0;
}

.main {
  margin-top: 100px;
  background: #26282c;
}
.main__wrapper {
  padding: 20px;
  display: flex;
  flex-direction: row;
  flex-wrap: wrap;
  justify-content: space-between;
  align-content: stretch;
  align-items: flex-start;
  max-width: 1280px;
  margin: 0 auto;
}

.teaser {
  list-style: none;
  padding: 0;
  margin: 0 0 4% 0;
  border: 1px solid #eee;
  box-sizing: border-box;
  order: 0;
  flex: 0 0 48%;
  width: 48%;
  align-self: auto;
  background: #ebebeb;
}
.teaser__wrapper {
  padding: 20px;
}

body {
  background: #26282c;
}
4. The JavaScript functions to manage the cart’s functionality. These functions handle adding items to the cart, retrieving cart data, deleting items, and displaying the updated cart content. Add the following code between <script> tag (or external JS file) just before closing the body tag.
function setCart(item, payload) {
  localStorage.setItem(item, payload);
}

function getCart(item) {
  let cartData = localStorage.getItem(item);
  return cartData;
}

function deleteCart(item) {
  localStorage.removeItem(item);
}

function addToCartHandler() {
  const storageCartName = 'cart';
  let addButton = document.querySelectorAll('.js-buy-button');

  addButton.forEach(elem => {
    elem.addEventListener('click', function () {
      let itemTitle = elem.dataset.title;
      let itemPrice = elem.dataset.price;
      let itemPayload = {
        'title': itemTitle,
        'price': itemPrice };

      let currentCart = JSON.parse(getCart(storageCartName));
      let changeCartEvent = new Event('itemInserted');

      if (currentCart === null) {
        currentCart = { 'items': [] };
      }
      currentCart.items.push(itemPayload);
      setCart(storageCartName, JSON.stringify(currentCart));
      document.dispatchEvent(changeCartEvent);
    });
  });
};

function listenToCartHandler() {
  let cartData = JSON.parse(getCart('cart'));
  let shoppingListContainer = document.querySelector('#js-item-list');
  shoppingListContainer.innerHTML = '';

  if (cartData !== null) {
    cartData.items.forEach(elem => {
      let shoppingListTemplate = `
        <li class="cart__shoppingList__item">
          <h3>${elem.title}</h3>
          <p>Price: ${elem.price}</p>
        </li>
        `;
      shoppingListContainer.innerHTML += shoppingListTemplate;
    });
  }
}

function emptyCart() {
  let deleteButton = document.querySelector('#js-delete-cart');
  deleteButton.addEventListener('click', function () {
    deleteCart('cart');
    listenToCartHandler();
  });
}

// Init
listenToCartHandler();
document.addEventListener("itemInserted", listenToCartHandler, false);
addToCartHandler();
emptyCart();
That’s all! hopefully, you have successfully created add-to-cart functionality using JavaScript and local storage. If you have any questions or suggestions, feel free to comment below.
Similar Code Snippets:
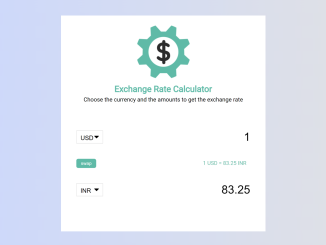
 Simple Currency Converter in JavaScript
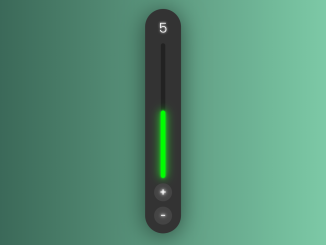
- Number Increment with Progress Bar in JavaScript
- Sliding Puzzle Game in JavaScript
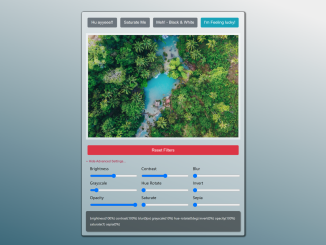
- CSS Image Filter Editor in JavaScript
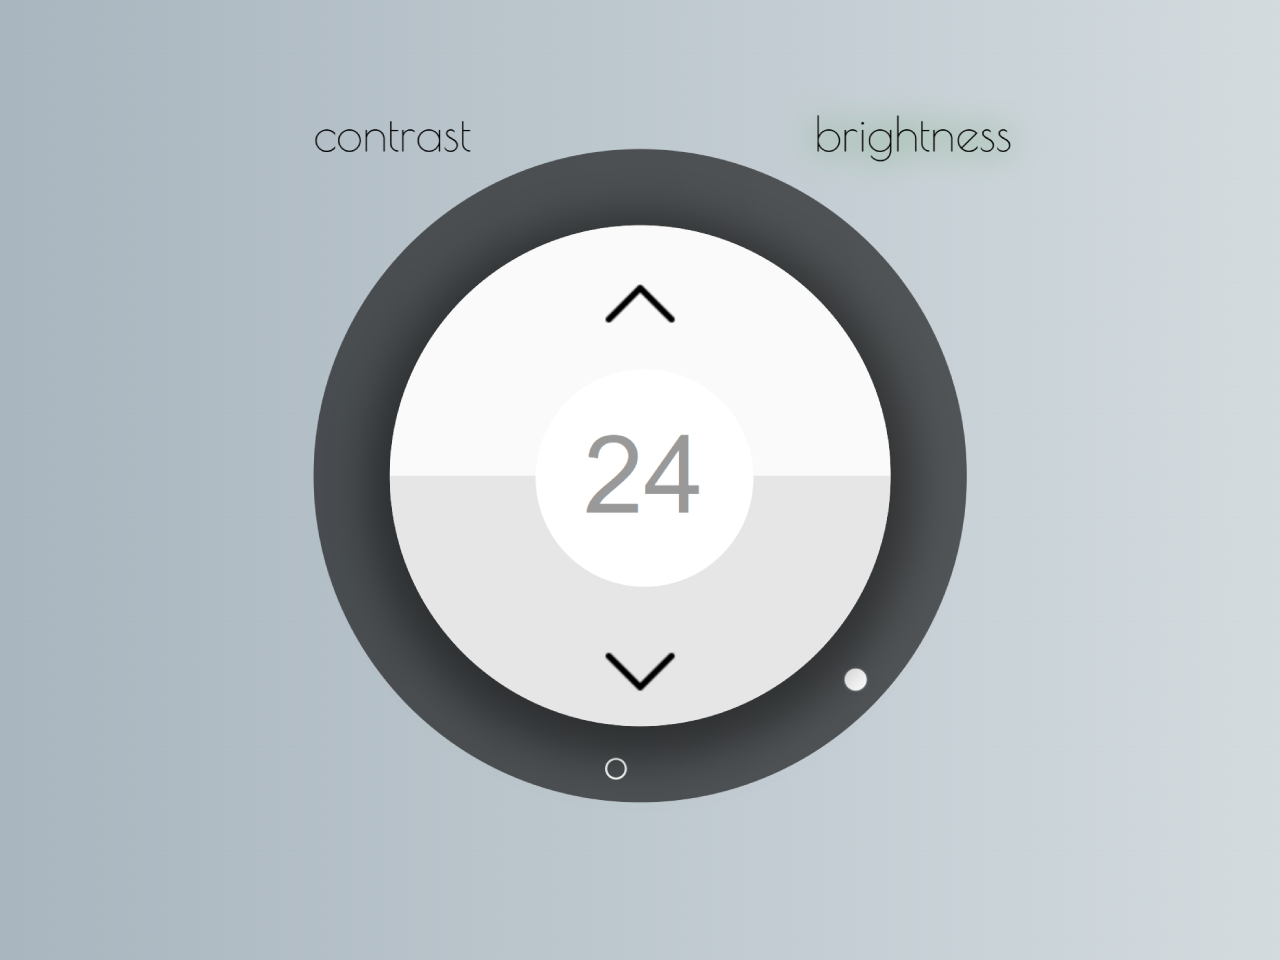
- JavaScript Knob Slider with Two Buttons


I code and create web elements for amazing people around the world. I like work with new people. New people new Experiences.
I truly enjoy what I’m doing, which makes me more passionate about web development and coding. I am always ready to do challenging tasks whether it is about creating a custom CMS from scratch or customizing an existing system.