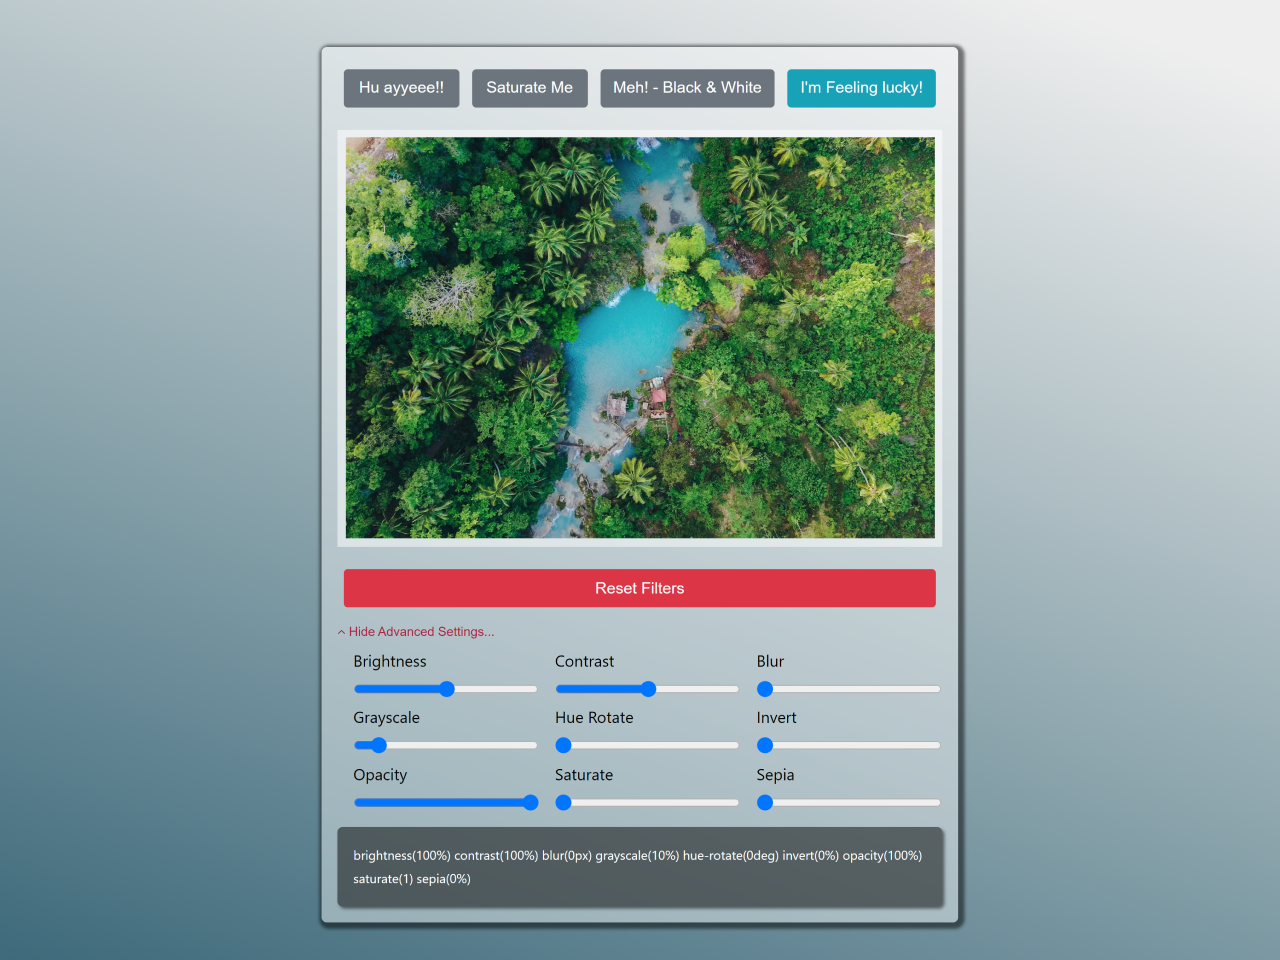

This JavaScript code snippet helps you to create an interactive CSS image filter editor. It comes with a user-friendly interface to apply various image filters using buttons and sliders. It enables you to adjust parameters like brightness, contrast, and saturation to modify your images creatively. This tool is designed to make it easier to apply filters to your images.
You can easily generate CSS code to apply multiple filters to an image.
How to Create CSS Image Filter Editor In JavaScript
1. Begin by setting up the HTML structure. Include the necessary libraries like Bootstrap and Font Awesome by linking them in the <head> section of your HTML file.
<link rel="stylesheet" href="https://www.w3schools.com/w3css/4/w3.css">
<link rel="stylesheet" href="https://maxcdn.bootstrapcdn.com/font-awesome/4.7.0/css/font-awesome.min.css">
<link rel="stylesheet" href="https://maxcdn.bootstrapcdn.com/bootstrap/4.0.0/css/bootstrap.min.css">
2. After that, create the required elements: image container, filter buttons, range inputs, and a reset button as follows:
<div class="wrapper">
        <div class="image-wrapper">
            <div class="filterButton">
                <button class="btn btn-secondary" data-filter="hue-rotate(140deg)">Hu ayyeee!!</button>
                <button class="btn btn-secondary" data-filter="saturate(2)">Saturate Me</button>
                <button class="btn btn-secondary" data-filter="grayscale(100%)">Meh! - Black & White</button>
                <button class="btn btn-info" data-filter="invert(100%) hue-rotate(140deg)">I'm Feeling lucky!</button>
            </div>

            <img src="https://images.unsplash.com/photo-1504532472068-9ae844337da7?ixlib=rb-0.3.5&ixid=eyJhcHBfaWQiOjEyMDd9&s=6e76ebffebd8e3c65985875554e36f35&auto=format&fit=crop&w=2234&q=80">

            <button class="reset btn btn-danger">Reset Filters</button>

            <div class="toggleAdvanced">
                <i class="fa fa-angle-down">
                    <span>Show Advanced Settings...</span>
                </i>
            </div>

            <div class="image-controls">

                <div>
                    <label>Brightness</label>
                    <input type="range" value="100" step="1" data-filter="brightness" data-scale="%" onchange="applyFilter()" min="0" max="200">
                </div>
                <div>
                    <label>Contrast</label>
                    <input type="range" value="100" step="1" data-filter="contrast" data-scale="%" onchange="applyFilter()" min="0" max="200">
                </div>
                <div>
                    <label>Blur</label>
                    <input type="range" value="0" step="1" data-filter="blur" data-scale="px" onchange="applyFilter()" min="0" max="100">
                </div>
                <div>
                    <label>Grayscale</label>
                    <input type="range" value="0" step="1" data-filter="grayscale" data-scale="%" onchange="applyFilter()" min="0" max="100">
                </div>
                <div>
                    <label>Hue Rotate</label>
                    <input type="range" value="0" step="1" data-filter="hue-rotate" data-scale="deg" onchange="applyFilter()" min="0" max="360">
                </div>
                <div>
                    <label>Invert</label>
                    <input type="range" value="0" step="1" data-filter="invert" data-scale="%" onchange="applyFilter()" min="0" max="100">
                </div>
                <div>
                    <label>Opacity</label>
                    <input type="range" value="100" step="1" data-filter="opacity" data-scale="%" onchange="applyFilter()" min="0" max="100">
                </div>
                <div>
                    <label>Saturate</label>
                    <input type="range" value="1" step="1" data-filter="saturate" data-scale="" onchange="applyFilter()" min="1" max="100">
                </div>
                <div>
                    <label>Sepia</label>
                    <input type="range" value="0" step="1" data-filter="sepia" data-scale="%" onchange="applyFilter()" min="0" max="100">
                </div>
            </div>
            <div class="filterSummary"> </div>
        </div>
    </div>
3. Now, apply basic styles to the elements to create a visually appealing layout. Style the buttons, input sliders, and image containers to provide an intuitive user interface for applying filters.
html {
            box-sizing: border-box;
        }

        *,
        *:after,
        *:before {
            box-sizing: inherit;
        }

        body {
            margin: 0;
            font-family: sans-serif;
            font-weight: 200;
            font-size: 1.2rem;
            min-height: 100vh;
            background: linear-gradient(200deg, #eee 10%, #326273);
        }

        .wrapper {
            max-width: 600px;
            margin: 5rem auto;
            background: rgba(255, 0255, 255, 0.4);
            padding: 1rem;
            border-radius: 5px;
            box-shadow: 2px 2px 3px 4px rgba(0, 0, 0, 0.5)
        }

        .image-wrapper {
            display: flex;
            flex-direction: column;
        }

        .filterButton {
            display: flex;
            flex-wrap: wrap;
        }

        .filterButton>* {
            flex: 1;

        }

        .btn {
            font-family: sans-serif;
            font-weight: 200;
            font-size: 0.8;
            line-height: 1.5rem;
            padding: .5rem;
            margin: .4rem;
        }

        .image-controls {

            display: none;
            flex-wrap: wrap;
            color: #000;
            font-size: 1rem;
            line-height: 1.5rem;
            animation-duration: 1.5s;
        }

        .image-controls.active {
            display: flex;

        }

        .image-controls div {
            margin: 0.5rem 0 0 1rem;
        }

        .image-controls div:active {
            color: white;
            transition: all .2s;
        }

        .image-controls>* {
            display: flex;
            flex: 1 1 calc(33.333% - 1rem);
            flex-direction: column;
        }

        img {

            max-width: 100%;
            margin: 1rem 0;
            padding: 0.5rem;
            background: rgba(255, 255, 255, 0.5);
        }

        .filterSummary {
            margin-top: 1rem;
            font-size: .8rem;
            line-height: 1.5rem;
            background: rgba(0, 0, 0, 0.5);
            padding: 1rem;
            color: white;
            box-shadow: 2px 2px 3px rgba(0, 0, 0, 0.5);
            border-radius: 5px;
            display: none;
        }

        .filterSummary.active {
            display: block;
        }

        .toggleAdvanced {
            font-size: .8rem;
            color: #AF1B3F;
            cursor: pointer;
            margin-top: .5rem;
        }

        .toggleAdvanced:hover {
            font-size: .8rem;
            color: white;

        }

        .toggleAdvanced span {
            font-family: sans-serif;
        }
4. Finally, add the JavaScript code to handle the image filtering. This code includes functions for selecting filters, resetting filters, and applying them. Make sure to keep the HTML structure and JavaScript code intact.
//Select Image
        const image = document.querySelector('img');
        //Select span to display values next to the label
        const summary = document.querySelector('.filterSummary');
        //Select Image controls  div
        const imageControlsContainer = document.querySelector('.image-controls');
        //Select all inputs
        const filterControls = [...document.querySelectorAll('input[type=range]')];
        //Select all buttons
        const filterButtons = [...document.querySelectorAll('button')];

        const resetbutton = document.querySelector('.reset').addEventListener('click', resetFilters);
        const advancedButton = document.querySelector('.toggleAdvanced');


        function toggleAdvanced() {
            //Check if active class is present and  add .active if not
            if (!imageControlsContainer.classList.contains('active')) {
                imageControlsContainer.classList.add('active', 'w3-animate-opacity')
                advancedButton.innerHTML = `
                <i class="fa fa-angle-up">
                    <span>Hide Advanced Settings...</span>
                </i>

                `
            } else {
                imageControlsContainer.classList.remove('active')
                summary.classList.remove('active', 'w3-animate-opacity');
                advancedButton.innerHTML = `
                <i class="fa fa-angle-down">
                    <span>Show Advanced Settings...</span>
                </i>
                `
            }


        }

        //Function to run when each button it clicked
        function selectFilter(e) {
            //Get filter value
            const clickedFilter = e.target.getAttribute('data-filter');
            console.log(clickedFilter);

            image.style.filter += clickedFilter;

        }
        //RESET ALL FILTERS
        function resetFilters() {
            image.style.filter = '';
        }

        function applyFilter() {
            //Initialise variable to store filters
            let filters = ''
            //Loop through each input
            filterControls.map(item => {
                const value = item.value;
                filters += item.getAttribute('data-filter') + '(' + value + item.getAttribute('data-scale') + ') ';
                console.log(filters);

                image.style.filter = filters;
                summary.innerHTML = filters;
                summary.classList.add('active');
            })
        }

        filterControls.forEach(item => item.addEventListener('active', applyFilter));

        filterButtons.forEach(button => button.addEventListener('click', selectFilter));

        advancedButton.addEventListener('click', toggleAdvanced);
That’s all! hopefully, you have successfully created CSS image Filter Editor on your website. If you have any questions or suggestions, feel free to comment below.
Similar Code Snippets:
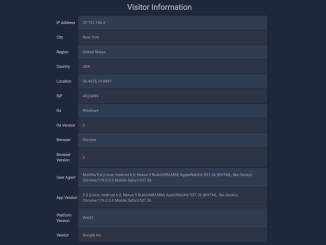 JavaScript Get Client System Information
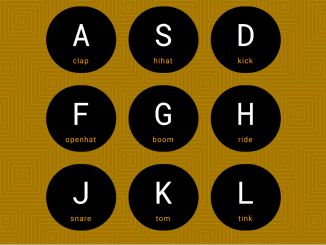 Drum Kit Using JavaScript
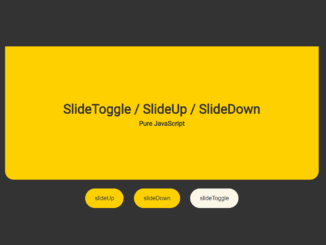

 Emoji Spinner in Vanilla JavaScript
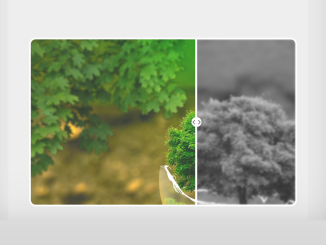 Img Comparison Slider using Vanilla JS


I code and create web elements for amazing people around the world. I like work with new people. New people new Experiences.
I truly enjoy what I’m doing, which makes me more passionate about web development and coding. I am always ready to do challenging tasks whether it is about creating a custom CMS from scratch or customizing an existing system.