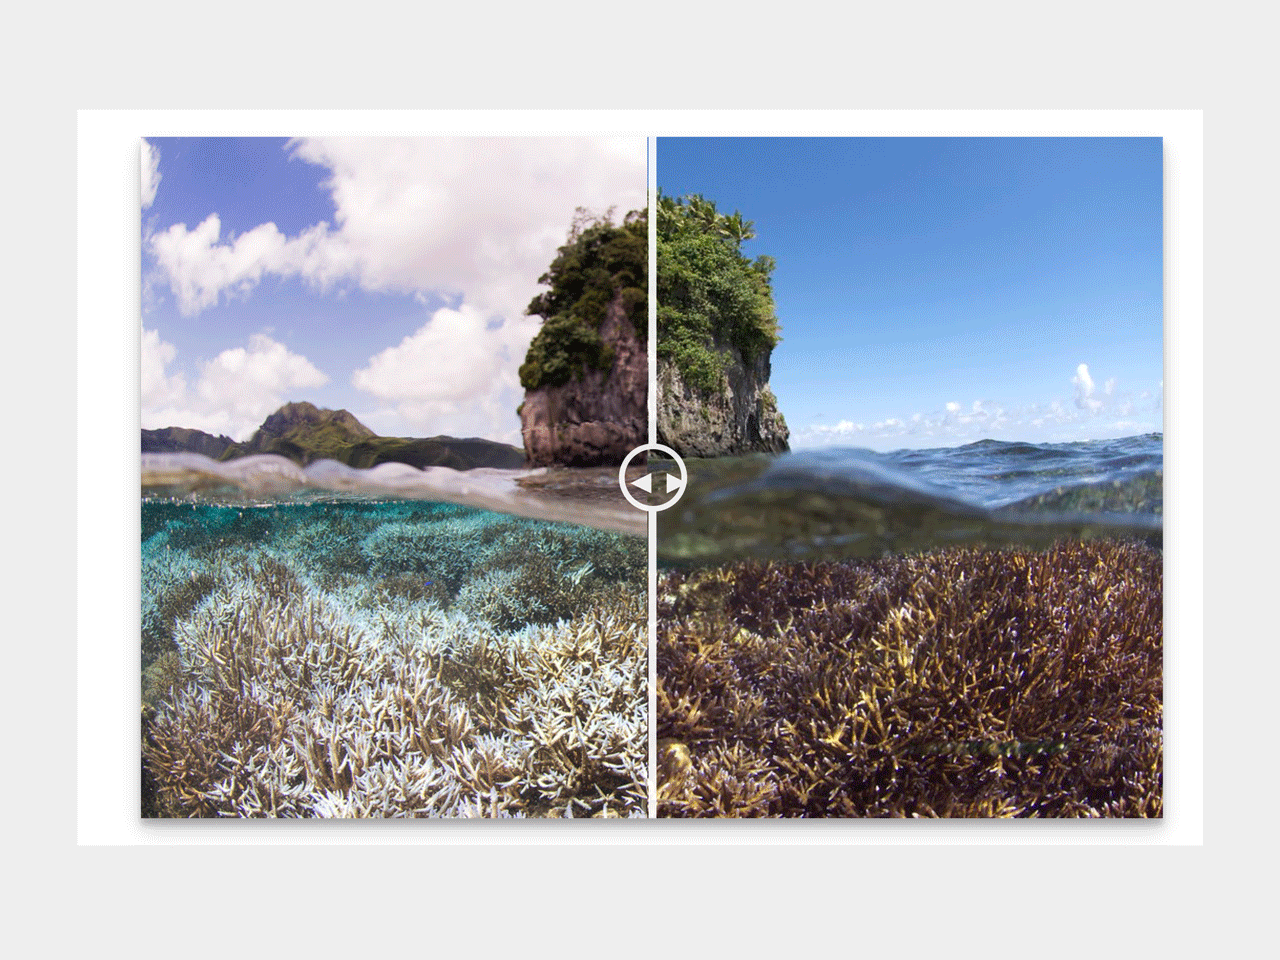

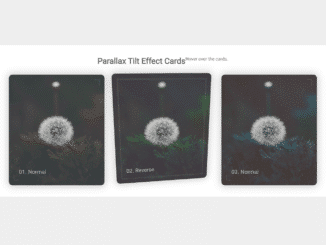
This Vanilla JavaScript code snippet helps you to create before and after image comparison slider. It comes with scrolling and touch support to slide the vertical slider over the image to see the before and after difference.
How to Create Before After Image Slider in Vanilla JavaScript
1. First of all, load the Font Awesome CSS into the head tag of your HTML page.
<link rel='stylesheet' href='https://cdnjs.cloudflare.com/ajax/libs/font-awesome/4.7.0/css/font-awesome.css'>
2. After that, create a div element with a class name “before” and place your first image inside it. Similarly, create another div element with a class name “after” and place your second image inside it.
Create a div with a class name “scroller” and place a SVG icon ij it for the vertical slider. Wrap all these elements into a div element and define its class name “wrapper”. So, the complete HTML structure of the image comparison slider is as follows:
<div id="page">
<div class="wrapper">
  <div class="before">
    <img class="content-image" src="https://farm2.staticflickr.com/1638/26145024230_06acd55d1b_b.jpg" draggable="false"/>   </div>
  <div class="after">
    <img class="content-image" src="https://farm2.staticflickr.com/1663/25814974803_d4c55ff708_b.jpg" draggable="false"/>
  </div>
  <div class="scroller">
    <svg class="scroller__thumb" xmlns="http://www.w3.org/2000/svg" width="100" height="100" viewBox="0 0 100 100"><polygon points="0 50 37 68 37 32 0 50" style="fill:#fff"/><polygon points="100 50 64 32 64 68 100 50" style="fill:#fff"/></svg>
  </div>
</div>
</div>
3. Style the image comparison slider using the following CSS. You can set the custom values for the image size according to your needs.
/* Our normalize css */
*{
  margin:0;
  box-sizing: border-box;
}

/* Our wrapper */
.wrapper{
  width: 900px;
  height: 600px;
  position: relative;

  overflow:hidden;
  box-shadow: 0 10px 20px rgba(0,0,0,0.19), 0 6px 6px rgba(0,0,0,0.23);
}

/* Our image information */
.before,
.after {
  width:100%;
  height:100%;
  background-repeat:no-repeat;
  background-color: white;
  background-size: cover;
  background-position: center;
  position: absolute;
  top:0;
  left:0;
  pointer-events:none;
  overflow: hidden;
}

.content-image{
  height:100%;
}

.after{
  width:125px;
}

.scroller{
  width: 50px;
  height:50px;
  position: absolute;
  left:100px;
  top:50%;
  transform:translateY(-50%);
  border-radius:50%;
  background-color: transparent;
  opacity:0.9;
  pointer-events:auto;
  cursor: pointer;
}

.scroller:hover{
  opacity:1;
}

.scrolling{
  pointer-events:none;
  opacity:1;
  // z-index: 1;
}

.scroller__thumb{
  width:100%;
  height:100%;
  padding:5px;
}

.scroller:before,
.scroller:after{
  content:" ";
  display: block;
  width: 7px;
  height: 9999px;
  position: absolute;
  left: 50%;
  margin-left: -3.5px;
  z-index: 30;
  transition:0.1s;
}
.scroller:before{
  top:100%;
}
.scroller:after{
  bottom:100%;
}

/* If you want to cahnge the colors, make sure you change the fill in the svgs to match */
.scroller{
  border: 5px solid #fff;
}
.scroller:before,
.scroller:after{
  background: #fff;
}
4. In the final step, add the following JavaScript function for before and after image comparison slider:
// I hope this over-commenting helps. Let's do this!
// Let's use the 'active' variable to let us know when we're using it
let active = false;

// First we'll have to set up our event listeners
// We want to watch for clicks on our scroller
document.querySelector('.scroller').addEventListener('mousedown',function(){
  active = true;
  // Add our scrolling class so the scroller has full opacity while active
  document.querySelector('.scroller').classList.add('scrolling');
});
// We also want to watch the body for changes to the state,
// like moving around and releasing the click
// so let's set up our event listeners
document.body.addEventListener('mouseup',function(){
  active = false;
  document.querySelector('.scroller').classList.remove('scrolling');
});
document.body.addEventListener('mouseleave',function(){
  active = false;
  document.querySelector('.scroller').classList.remove('scrolling');
});

// Let's figure out where their mouse is at
document.body.addEventListener('mousemove',function(e){
  if (!active) return;
  // Their mouse is here...
  let x = e.pageX;
  // but we want it relative to our wrapper
  x -= document.querySelector('.wrapper').getBoundingClientRect().left;
  // Okay let's change our state
  scrollIt(x);
});

// Let's use this function
function scrollIt(x){
    let transform = Math.max(0,(Math.min(x,document.querySelector('.wrapper').offsetWidth)));
    document.querySelector('.after').style.width = transform+"px";
    document.querySelector('.scroller').style.left = transform-25+"px";
}

// Let's set our opening state based off the width,
// we want to show a bit of both images so the user can see what's going on
scrollIt(150);

// And finally let's repeat the process for touch events
// first our middle scroller...
document.querySelector('.scroller').addEventListener('touchstart',function(){
  active = true;
  document.querySelector('.scroller').classList.add('scrolling');
});
document.body.addEventListener('touchend',function(){
  active = false;
  document.querySelector('.scroller').classList.remove('scrolling');
});
document.body.addEventListener('touchcancel',function(){
  active = false;
  document.querySelector('.scroller').classList.remove('scrolling');
});
That’s all! hopefully, you have successfully created a before after image slider using Vanilla JavaScript. If you have any questions or suggestions, feel free to comment below.
Similar Code Snippets:
 Palindrome Checker in JavaScript
- Next and Previous Buttons in JavaScript with Demo
- Drum Kit Using JavaScript
- Cookie Consent Popup in JavaScript
- JavaScript Unit Converter Source Code
- Stripe JavaScript Checkout Example


I code and create web elements for amazing people around the world. I like work with new people. New people new Experiences.
I truly enjoy what I’m doing, which makes me more passionate about web development and coding. I am always ready to do challenging tasks whether it is about creating a custom CMS from scratch or customizing an existing system.