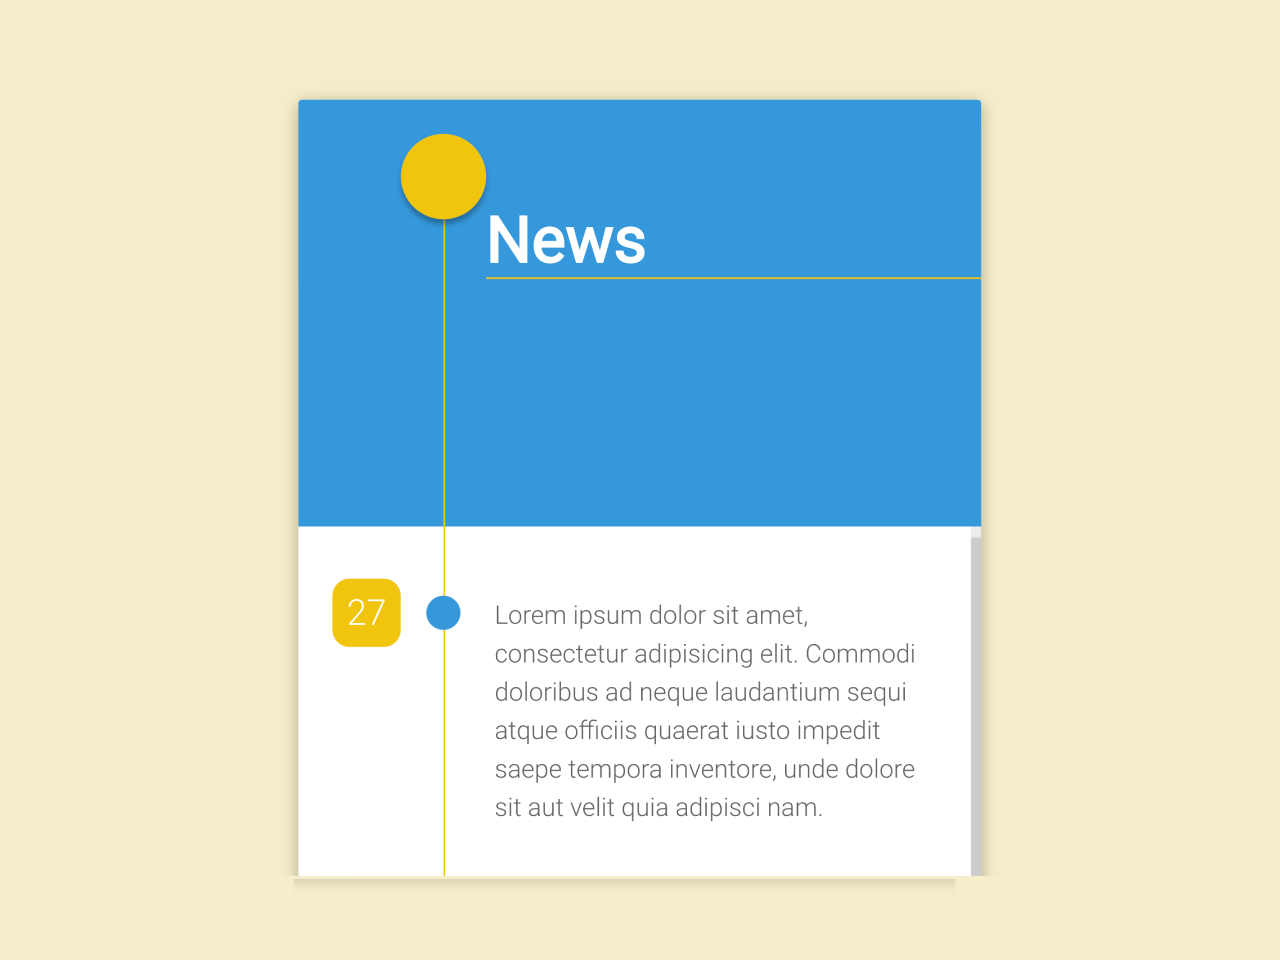

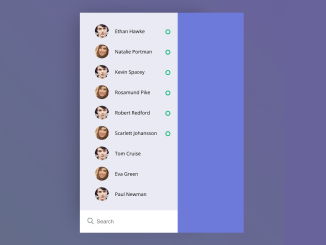
This code creates a vertical timeline using Material Design. It displays news with dates and content. The layout showcases a sleek timeline with organized news items. It helps present chronological information in a visually appealing manner.
You can use this code on websites to showcase timelines for events, news, or project milestones. It helps organize information chronologically, making it easy for visitors to follow the sequence of events.
How to Create Vertical Timeline Using Material Design
1. Copy the HTML code into your project’s HTML file. This code structures the timeline layout using sections, divs, and classes. Replace the demo content within the <div id="content"> section with your own timeline events. Each .object div represents a timeline item. Update the dates, content, and any other details within these divs to match your timeline information.
<section>
  <div class="header">
    <div class="circle"></div>
    <h1> News </h1>
  </div>
  <div class="line"></div>
  <div id="content">
    <div class="object">
      <div class="date"> 27 </div>
      <div class="circle"></div>
      <div class="context">
        Lorem ipsum dolor sit amet, consectetur adipisicing elit. Commodi doloribus ad neque laudantium sequi atque officiis quaerat iusto impedit saepe tempora inventore, unde dolore sit aut velit quia adipisci nam.
      </div>
    </div>

    <div class="object">
      <div class="date">
        25
      </div>
      <div class="circle">
      </div>
      <div class="context">
        Lorem ipsum dolor sit amet, consectetur adipisicing elit. Commodi doloribus ad neque laudantium sequi atque officiis quaerat iusto.
      </div>
    </div>

    <div class="object">
      <div class="date">
        24
      </div>
      <div class="circle">
      </div>
      <div class="context">
        Lorem ipsum dolor sit amet, consectetur adipisicing elit.
      </div>
    </div>

    <div class="object">
      <div class="date">
        21
      </div>
      <div class="circle">
      </div>
      <div class="context">
        Lorem ipsum dolor sit amet, consectetur adipisicing elit. Commodi doloribus ad neque laudantium sequi atque officiis quaerat iusto impedit saepe tempora inventore, unde dolore sit aut velit quia adipisci nam.
      </div>
    </div>

    <div class="object">
      <div class="date">
        19
      </div>
      <div class="circle">
      </div>
      <div class="context">
        Lorem ipsum dolor sit amet, consectetur adipisicing elit. Commodi doloribus ad neque laudantium sequi atque officiis quaerat iusto impedit saepe tempora inventore, unde dolore sit aut velit quia adipisci nam.
      </div>
    </div>

    <div class="object">
      <div class="date">
        18
      </div>
      <div class="circle">
      </div>
      <div class="context">
        Lorem ipsum dolor sit amet, consectetur adipisicing elit. Commodi doloribus ad neque laudantium sequi atque officiis
      </div>
    </div>
  </div>
</section>
2. Integrate the CSS code into your project’s CSS file or within <style> tags in your HTML file. This CSS provides the styles and design for the timeline, including colors, positioning, and formatting.
@import url(https://fonts.googleapis.com/css?family=Roboto:300);
html, body {
  padding: 0;
  margin: 0;
  font-family: Roboto;
  background-color: #eee;
}

section {
  position: relative;
  width: 400px;
  background-color: #fff;
  box-shadow: 0px 2px 10px rgba(0, 0, 0, 0.3);
  overflow: hidden;
  margin: 20px auto;
  border-radius: 2px;
}

.header {
  width: 100%;
  height: 250px;
  background-color: #3498db;
  overflow: hidden;
}
.header .circle {
  position: relative;
  top: 20px;
  left: 60px;
  width: 50px;
  height: 50px;
  background-color: #f1c40f;
  box-shadow: 0px 3px 3px rgba(0, 0, 0, 0.3);
  border-radius: 50%;
  z-index: 10;
}
.header h1 {
  position: relative;
  top: 10px;
  left: 110px;
  font-size: 2.5em;
  color: #fff;
  border-bottom: 1px solid #f1c40f;
}

.line {
  position: absolute;
  z-index: 0;
  top: 50px;
  left: 85px;
  height: calc(100% + 200px);
  width: 0px;
  border-right: 1px solid #f1c40f;
}

#content {
  width: 100%;
  height: 700px;
  overflow: hidden;
  padding-top: 20px;
  overflow-y: auto;
  overflow-x: hidden;
}
#content::-webkit-scrollbar {
  width: 6px;
  background-color: #EBEBEB;
}
#content::-webkit-scrollbar-thumb {
  background-color: #ccc;
}
#content .object {
  width: 100%;
}
#content .object:after {
  content: "";
  display: block;
  height: 0;
  clear: both;
}
#content .object .date {
  float: left;
  width: 40px;
  height: 40px;
  margin: 20px;
  background-color: #f1c40f;
  color: #fff;
  border-radius: 10px;
  text-align: center;
  line-height: 1.9em;
  font-size: 1.4em;
}
#content .object .circle {
  position: relative;
  float: left;
  z-index: 10;
  margin: 30px 0 0 -5px;
  width: 20px;
  height: 20px;
  background-color: #3498db;
  border-radius: 50%;
}
#content .object .context {
  float: left;
  color: #666;
  width: 250px;
  min-height: 40px;
  margin: 10px 0 10px 0px;
  padding: 20px;
  line-height: 1.5em;
}
This code provides a basic structure for a vertical timeline. Customization and further enhancements can be done based on your specific needs and design preferences.
That’s all! hopefully, you have successfully created a Vertical Timeline on your website. If you have any questions or suggestions, feel free to comment below.
Similar Code Snippets:
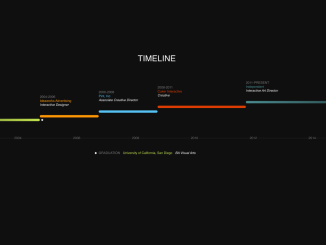
 Vertical Scrolling Timeline Template in CSS3
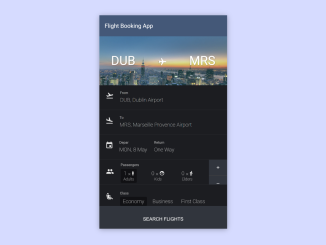
- Flight Reservation Form HTML Code
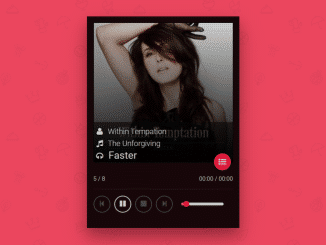
- Animated Login Form Using Material Design
- Material Design Input Field Using CSS
- Material Design Typography in CSS
- Material Design Nav Bar with Hover Dropdown
- Elastic SVG Sidebar Using Material Design
- Material Design File Upload Input

I code and create web elements for amazing people around the world. I like work with new people. New people new Experiences.
I truly enjoy what I’m doing, which makes me more passionate about web development and coding. I am always ready to do challenging tasks whether it is about creating a custom CMS from scratch or customizing an existing system.