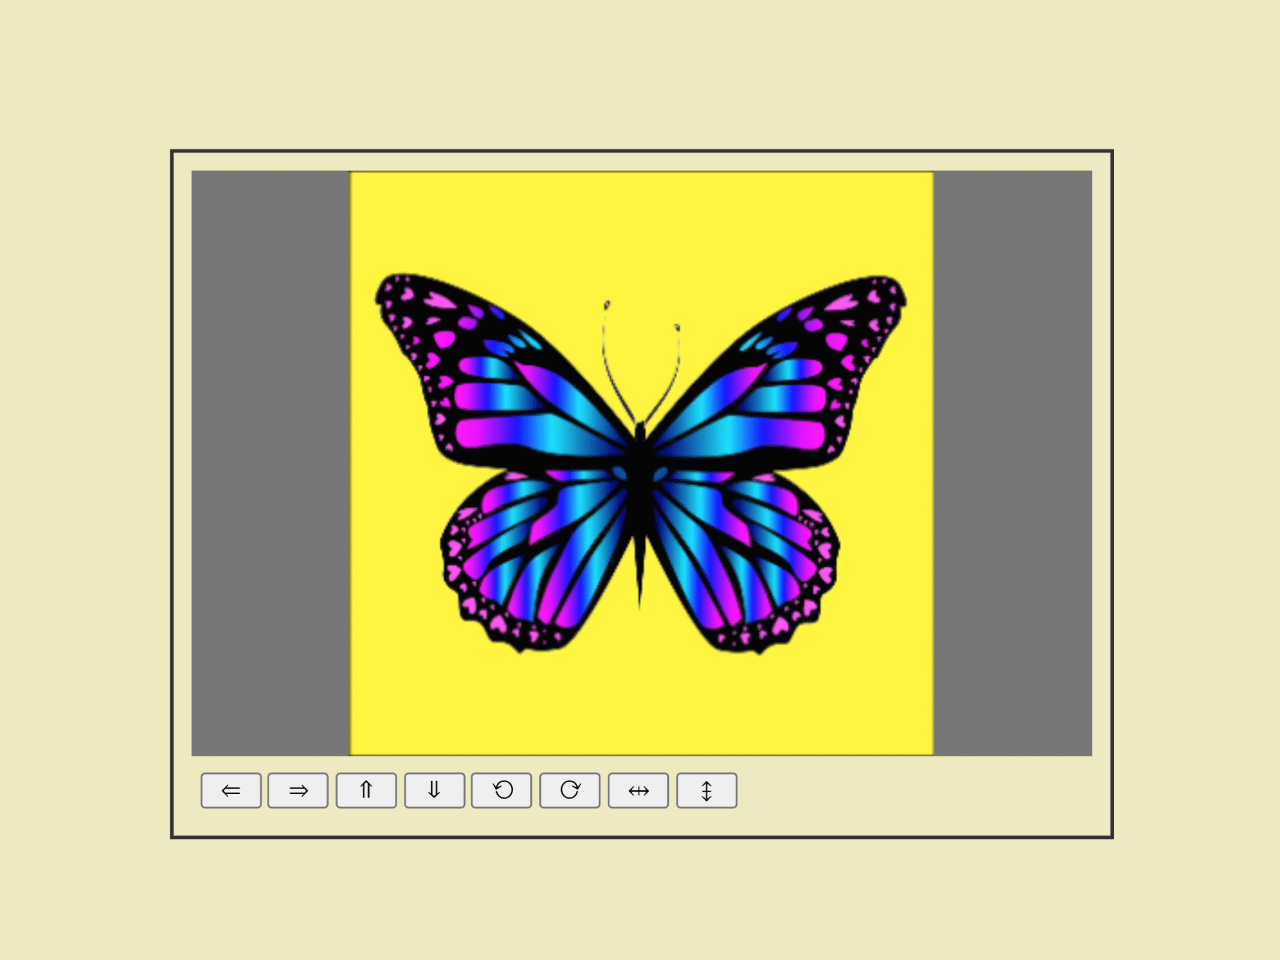

This code creates an interactive image viewer using HTML5 Canvas. It allows you to load an image and perform actions like panning, rotating, mirroring, and flipping. This viewer is helpful for examining and manipulating images within a web page.
How to Create HTML5 Canvas Image Viewer with Rotate and Flip
1. First, create the necessary HTML structure for your image viewer. You can copy the following code into your HTML file:
<div class="canvas-container">
<canvas id="canvas">
</canvas>
<div class="canvas-controls flex">
<button id="panLeft" title="Pan left"><span>⇐</span></button>
<button id="panRight" title="Pan right"><span>⇒</span></button>
<button id="panUp" title="Pan up"><span>⇑</span></button>
<button id="panDown" title="Pan down"><span>⇓</span></button>
<button id="rotateLeft" title="Rotate left"><span>⟲</span></button>
<button id="rotateRight" title="Rolotate right"><span>⟳</span></button>
<button id="mirror" title="Mirror"><span>⇹</span></button>
<button id="flip" title="Flip"><span class="rot">⇹</span></button>
</div>
</div>
2. To style the image viewer, use the following CSS code. Ensure that you include the CSS within your HTML file or link to an external CSS file.
.canvas-container {
  flex-direction: column;
  border: 2px solid #333;
  padding: 10px;
}

canvas {
  background: #777;
  cursor: crosshair;
}

.canvas-controls {
  padding: 5px;
}

button span {
  display: inline-block;
  width: 30px;
}

span.rot {
  transform: rotate(90deg);
}
3. Finally, add the following JavaScript code to your project. You need to configure a few variables to customize the viewer to your needs:
IMGURL: Replace this with the URL of the image you want to display.CANVASWITHandCANVASHEIGHT: Set the width and height of the canvas.PANSTEP: Adjust the panning step value (how much the image moves when panning).
const IMGURL = "https://i.imgur.com/hjNvQge.jpg";

const CANVASWITH = 500;
const CANVASHEIGHT = 325;
const PANSTEP = 20;

const transformMatrix = {
  a: 1, // Horizontal scaling
  b: 0, // Vertical skewing
  c: 0, // Horizontal skewing
  d: 1, // Vertical scaling
  e: 0, // Horizontal translation (panning)
  f: 0, // Vertical translation (panning)
};

var canvas,
  context,
  image,
  scaledImgWidth,
  scaledImgHeight,
  startX,
  startY,
  canvasCenterX,
  canvasCenterY,
  scale;

window.onload = () => {
  loadImage();
  addEventListeners();
};

function loadImage() {
  canvas = document.getElementById("canvas");
  canvas.width = CANVASWITH;
  canvas.height = CANVASHEIGHT;
  context = canvas.getContext("2d");

  image = new Image();

  image.onload = function () {
    init();
    reset();
  };
  image.src = IMGURL;
}

function init() {
  scale = Math.min(canvas.width / image.width, canvas.height / image.height);
  scaledImgWidth = image.width * scale;
  scaledImgHeight = image.height * scale;
  startX = (canvas.width - scaledImgWidth) / 2;
  startY = (canvas.height - scaledImgHeight) / 2;
  canvasCenterX = canvas.width / 2;
  canvasCenterY = canvas.height / 2;
  context.save();
}

function drawImageToCanvas() {
  context.save();
  context.setTransform(1, 0, 0, 1, 0, 0);
  context.clearRect(0, 0, canvas.width, canvas.height);
  context.restore();
  context.drawImage(image, startX, startY, scaledImgWidth, scaledImgHeight);
}

function pan(x, y) {
  transformMatrix.e += x;
  transformMatrix.f += y;
  applyMatrix();
  drawImageToCanvas();
}

function rotate(degrees) {
  context.translate(canvasCenterX, canvasCenterY);
  context.rotate((Math.PI / 180) * degrees);
  context.translate(-canvasCenterX, -canvasCenterY);
  drawImageToCanvas();
}

function mirror() {
  transformMatrix.a *= -1; // Flip horizontally
  applyMatrix();
  drawImageToCanvas();
}

function flip() {
  transformMatrix.d *= -1; // Flip vertically
  applyMatrix();
  drawImageToCanvas();
}

function reset() {
  // Reset the transformation matrix
  transformMatrix.a = 1;
  transformMatrix.b = 0;
  transformMatrix.c = 0;
  transformMatrix.d = 1;
  transformMatrix.e = 0;
  transformMatrix.f = 0;
  applyMatrix();
  drawImageToCanvas();
}

function applyMatrix() {
  context.setTransform(
    transformMatrix.a,
    transformMatrix.b,
    transformMatrix.c,
    transformMatrix.d,
    transformMatrix.e,
    transformMatrix.f
  );
}

function addEventListeners() {
  document.getElementById("rotateRight").addEventListener("click", function () {
    rotate(90);
  });
  document
    .getElementById("rotateLeft")
    .addEventListener("click", function (event) {
      rotate(-90);
    });
  document.getElementById("mirror").addEventListener("click", function (event) {
    mirror();
  });
  document.getElementById("flip").addEventListener("click", function (event) {
    flip();
  });
  document
    .getElementById("panLeft")
    .addEventListener("click", function (event) {
      pan(-PANSTEP, 0);
    });
  document
    .getElementById("panRight")
    .addEventListener("click", function (event) {
      pan(PANSTEP, 0);
    });
  document.getElementById("panUp").addEventListener("click", function (event) {
    pan(0, -PANSTEP);
  });
  document
    .getElementById("panDown")
    .addEventListener("click", function (event) {
      pan(0, PANSTEP);
    });
}
Feel free to customize the viewer further or extend its functionality based on your needs. You can modify the CSS for styling, add additional buttons or features, or integrate it into a larger web project.
That’s all! hopefully, you have successfully created an HTML5 Canvas Image Viewer with Rotate and Flip feature. If you have any questions or suggestions, feel free to comment below.
Similar Code Snippets:
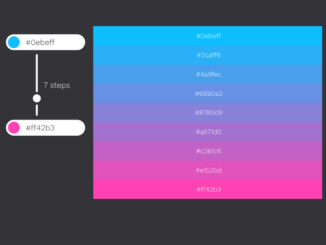
 HTML5 Hex Color Picker with Mixer
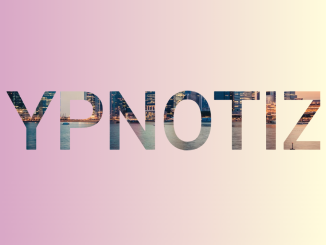
- Image Inside Text using CSS
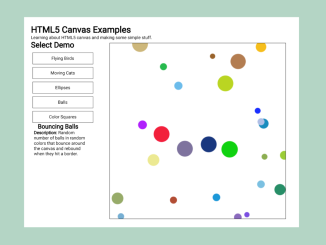
- HTML5 Canvas Examples with Source Code
- Pricing Table Design Using HTML CSS
- Animated Toggle Pills Using CSS
- HTML Table with Fixed Header and First Column
- Product Comparison Template in HTML & CSS


I code and create web elements for amazing people around the world. I like work with new people. New people new Experiences.
I truly enjoy what I’m doing, which makes me more passionate about web development and coding. I am always ready to do challenging tasks whether it is about creating a custom CMS from scratch or customizing an existing system.