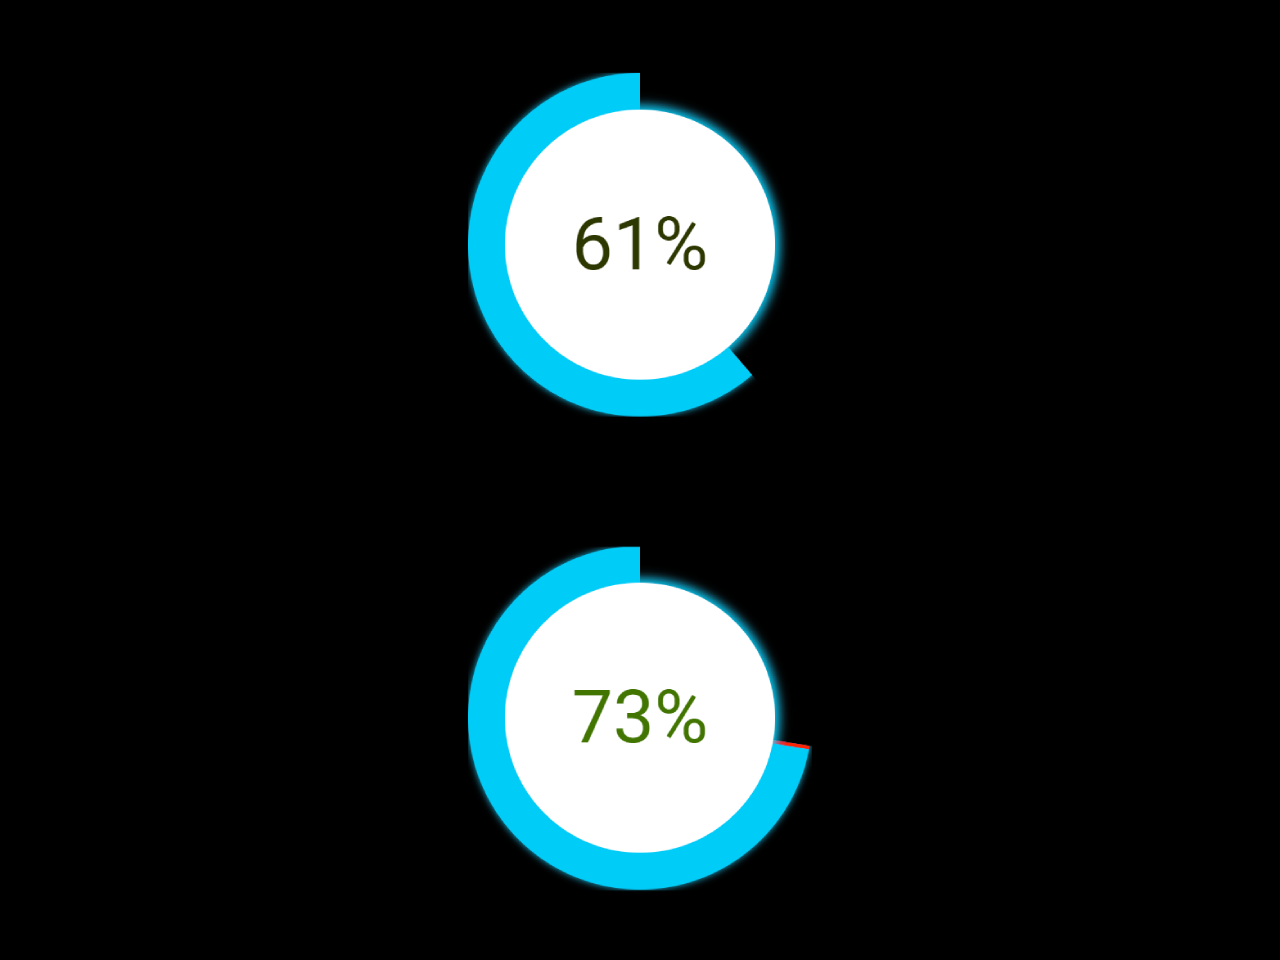

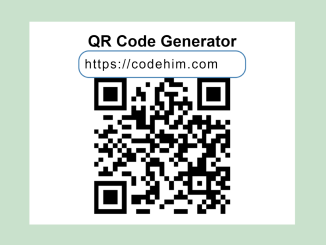
This JavaScript code implements a “Round Range Slider” feature on HTML elements. It allows users to interactively select a range within a circular slider. The core functionality of this code is to calculate the selected range based on the user’s mouse movements and update the display accordingly. This code is helpful for creating user-friendly interfaces for selecting values within a circular range.
You can use this code in web applications and websites to create visually appealing circular range sliders. It offers a user-friendly way for users to select values within a circular range, enhancing the user experience.
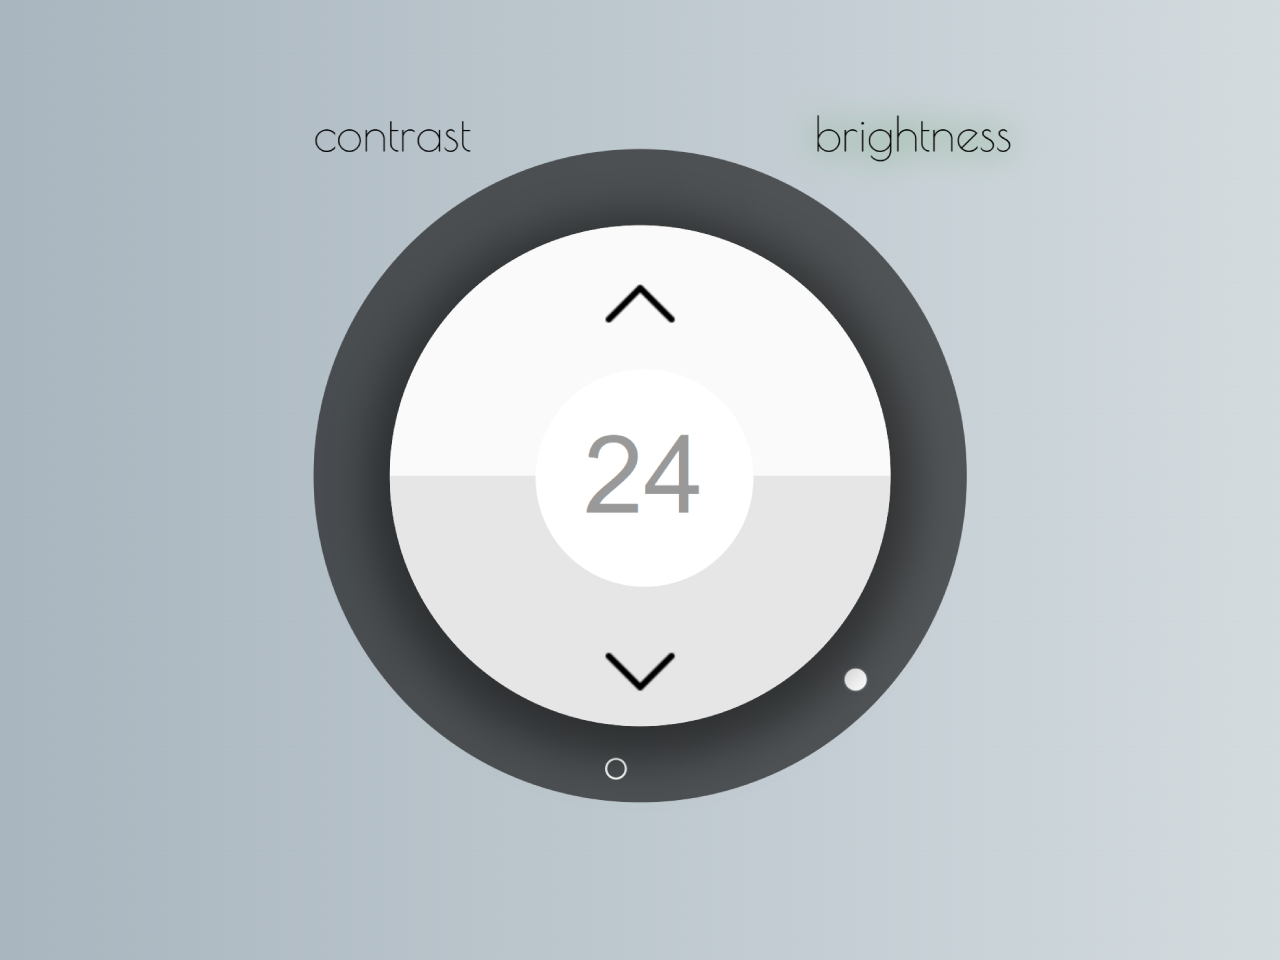
How to Create a Round Range Slider In Javascript
1. First of all, load the Normalize CSS by adding the following CDN link into the head tag of your web/app project.
<link rel="stylesheet" href="https://cdnjs.cloudflare.com/ajax/libs/normalize/5.0.0/normalize.min.css">
2. Create the HTML structure for your Round Range Slider. You can use the following HTML code as a starting point. Ensure you have an HTML container with the class “round-slider” for each slider you want to create.
<div class="round-slider">
	<div class="selection" style=""></div>
	<div class="holder" style="color: hsl(120, 100%, 50%);">100%</div>
</div>
<div class="round-slider">
	<div class="selection" style=""></div>
	<div class="holder" style="color: hsl(120, 100%, 50%);">100%</div>
</div>
3. Next, style the Range Slider using CSS. The CSS code provided defines the appearance and behavior of the slider elements. You can customize the colors, sizes, and other visual aspects to match your project’s design.
.round-slider {
	display: grid;
	position: relative;
	width: 150px;
	height: 150px;
	justify-self: center;
	align-self: center;
	border-radius: 50%;
	cursor: pointer;
	user-select: none;
}
.round-slider .selection {
	width: 140px;
	height: 140px;
	border-radius: 50%;
	background: #00ccf8;
	box-shadow: 0px 0px 3px 0px #00ccf8;
	grid-row: 1;
	grid-column: 1;
	justify-self: center;
	align-self: center;
	pointer-events: none;
	/* clip-path: polygon(value% 0%, 100% 0%, 100% 100%, 0% 100%, 0% 0%, 50% 0%, 50% 50%); */
}
.round-slider .selection:after {
	display: block;
	content: "";
	width: 3px;
	height: calc(50% - 5px);
	background-color: red;
	position: absolute;
	left: calc(50% - 1px);
	transform-origin: 1px 100%;
	transform: rotate(0deg);
}
.round-slider .holder {
	width: 110px;
	height: 110px;
	background: rgba(255, 255, 255, 1);
	border-radius: 50%;
	grid-row: 1;
	grid-column: 1;
	justify-self: center;
	align-self: center;
	pointer-events: none;
	z-index: 2;
	text-align: center;
	line-height: 110px;
	font-size: 2em;
	box-shadow: 0px 0px 4px 2px #00ccf8;
}
4. Now, let’s add the JavaScript code to make the Round Range Slider interactive. The following JavaScript code handles user interactions, such as clicking and dragging, to select values within the circular range. Make sure to include this script in your HTML file.
var sliders = document.getElementsByClassName("round-slider");
console.log("Sliders:", sliders);
for (let i = 0; i < sliders.length; i++) {
	sliders[i].addEventListener("click", round_slider_tune, false);
	sliders[i].addEventListener("mousedown", function(event) {
		sliders[i].onmousemove = function(event) {
			if (event.buttons == 1 || event.buttons == 3) {
				round_slider_tune(event);
			}
		}
	});
}

function round_slider_tune(event) {
	let eventDoc = (event.target && event.target.ownerDocument) || document,
		doc = eventDoc.documentElement,
		body = eventDoc.body;
	event.pageX = event.clientX +
		  (doc && doc.scrollLeft || body && body.scrollLeft || 0) -
		  (doc && doc.clientLeft || body && body.clientLeft || 0);
	event.pageY = event.clientY +
		  (doc && doc.scrollTop  || body && body.scrollTop  || 0) -
		  (doc && doc.clientTop  || body && body.clientTop  || 0 );
	let output = event.target.getElementsByClassName("selection")[0],
		text = event.target.getElementsByClassName("holder")[0],
		styleafter = document.head.appendChild(document.createElement("style")),
		elpos = event.target.getBoundingClientRect(),
		cX = elpos.width / 2,
		cY = elpos.height / 2,
		eX = event.pageX - elpos.left,
		eY = event.pageY - elpos.top,
		dX = 0,
		dY = 0,
		angle = Math.atan2(cX - eX, cY - eY) * (180 / Math.PI),
		value = 100;
	//console.log(cX, cY, eX, eY, angle);

	if (Math.abs(eX - cX) >= Math.abs(eY - cY)) { // 110 90
		dX = 150 / 2 + Math.sign(eX - cX) * 150 / 2;
		dY = 150 / 2 + (eY - cY) / Math.abs(eX - cX) * 150 / 2;
	} else {
		dX = 150 / 2 + (eX - cX) / Math.abs(eY - cY) * 150 / 2;
		dY = 150 / 2 + Math.sign(eY - cY) * 150 / 2;
	}
	dX = Math.round(dX / 150 * 100)
	dY = Math.round(dY / 150 * 100)
	//console.log(dX + "%", dY + "%");
	/*if (0 < angle && angle <= 45) {
	} else if (45 < angle && angle <= 120) {
	} else if ((120 < angle && angle <= 180) || (-180 < angle && angle <= -120)) {
	} else if (-120 < angle && angle <= -45) {
	} else if (-45 < angle && angle <= 0) {}*/
	if (0 <= dX && dX < 50 && dY == 0) {
		output.style = "clip-path: polygon(" + dX + "% " + dY + "%, 50% 0%, 50% 50%);";
		value = Math.round((50 - dX) / 50 * 12.5);
	} else if (dX == 0 && 0 <= dY && dY <= 100) {
		output.style = "clip-path: polygon(" + dX + "% " + dY + "%, 0% 0%, 50% 0%, 50% 50%);";
		value = Math.round(12.5 + dY / 100 * 25);
	} else if (0 <= dX && dX <= 100 && dY == 100) {
		output.style = "clip-path: polygon(" + dX + "% " + dY + "%, 0% 100%, 0% 0%, 50% 0%, 50% 50%);";
		value = Math.round(37.5 + dX / 100 * 25);
	} else if (dX == 100 && 0 <= dY && dY <= 100) {
		output.style = "clip-path: polygon(" + dX + "% " + dY + "%, 100% 100%, 0% 100%, 0% 0%, 50% 0%, 50% 50%);";
		value = Math.round(62.5 + (100 - dY) / 100 * 25);
	} else if (50 <= dX && dX <= 100 && dY == 0) {
		output.style = "clip-path: polygon(" + dX + "% " + dY + "%, 100% 0%, 100% 100%, 0% 100%, 0% 0%, 50% 0%, 50% 50%);";
		value = Math.round(87.5 + (100 - dX) / 50 * 12.5);
	}
	styleafter.innerHTML = ".round-slider .selection:after {transform: rotate(" + -angle + "deg);}";
	let hue = Math.floor(value / 100 * 120),
		saturation = Math.abs(value - 50);
	text.innerHTML = value + "%";
	text.style = "color: hsl(" + hue + ", 100%, " + saturation + "%);";
}
That’s all! hopefully, you have successfully created a Round Range Slider. If you have any questions or suggestions, feel free to comment below.
Similar Code Snippets:
 Pure JavaScript QR Code Generator
- Automatic Logout After 15 Minutes Of Inactivity in JavaScript
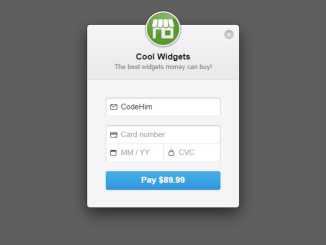
- Stripe JavaScript Checkout Example
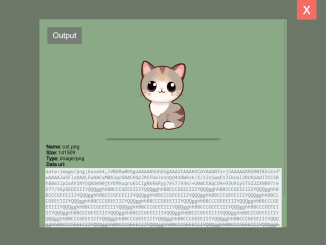
- Convert Image To Base64 using JavaScript
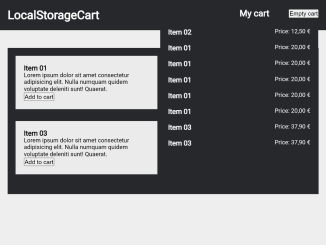
- JavaScript Add to Cart with Local Storage
- JavaScript Knob Slider with Two Buttons
- Next and Previous Buttons in JavaScript with Demo


I code and create web elements for amazing people around the world. I like work with new people. New people new Experiences.
I truly enjoy what I’m doing, which makes me more passionate about web development and coding. I am always ready to do challenging tasks whether it is about creating a custom CMS from scratch or customizing an existing system.