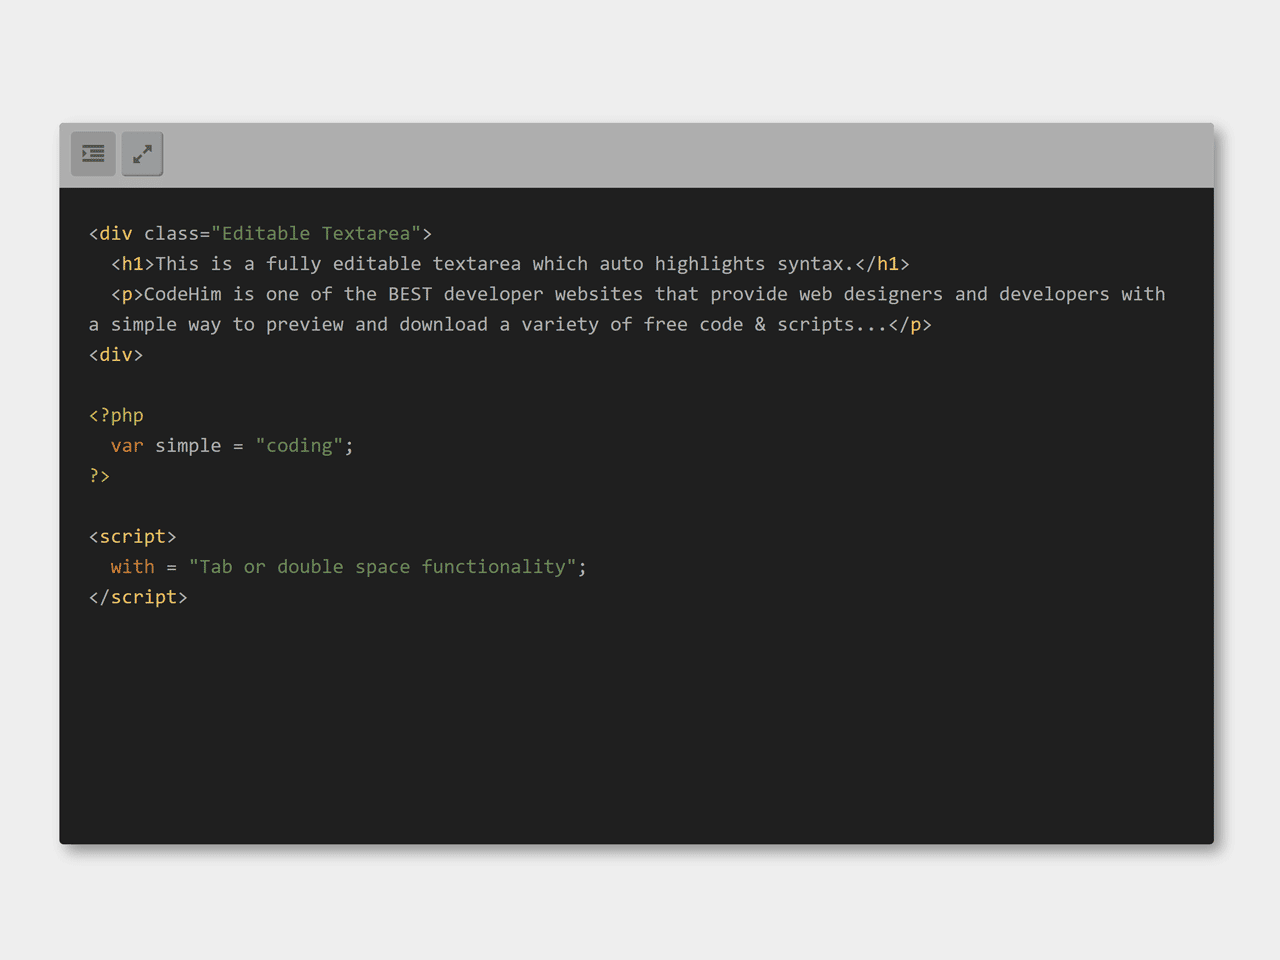

This code project helps you to create a textarea with syntax highlighting. It uses Highlight JS to color the syntax in HTML textarea element. Whether you’re working on a code editor project or want to display highlighted code on webpage/app, this code snippet is quite fits on your needs.
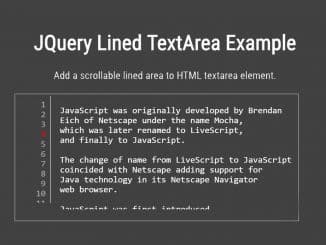
Also Read: Textarea with line numbers
How to Create Textarea with Syntax highlighting
1. First of all, load the Foundation CSS into the head tag of your HTML document.
<link rel='stylesheet' href='https://cdn.jsdelivr.net/foundation/6.2.0/foundation.min.css'>
2. Now, create the HTML textarea element with a class name “editor” and place your code (in escaped format) that you want to display on initialization.
If you want to show a toolbar over the textarea, create a ul element with a class name “toolbar” and place anchor of controls in list items. Wrap all these elements into a div element and define its class name “editor-holder”. The complete HTML structure for editor is as follows:
<div class="editor-holder"> <ul class="toolbar"> <li><a href="#" id="indent" title="Toggle tabs or spaces"><i class="fa fa-indent"></i></a></li> <li><a href="#" id="fullscreen" title="Toggle fullscreen mode"><i class="fa fa-expand"></i></a></li> </ul> <div class="scroller"> <textarea class="editor allow-tabs"><div class="Editable Textarea"> <h1>This is a fully editable textarea which auto highlights syntax.</h1> <p>Type or paste any code in here...</p> <div> <?php var simple = "coding"; ?> <script> with = "Tab or double space functionality"; </script></textarea> <pre><code class="syntax-highight html"></code></pre> </div> </div>
3. After that, style the textarea using the following CSS. You can set the custom values for the width and height of the “editor-holder” class in order to change the size of the editor. Similarly, you can also modify other CSS values to customize the textarea/editor according to your needs.
.editor-holder {
  width: 800px;
  height: 500px;
  margin-top: 50px;
  border-radius: 3px;
  position: relative;
  top: 0;
  margin: 15px auto;
  background: #1f1f1f !important;
  overflow: auto;
  box-shadow: 5px 5px 10px 0px rgba(0, 0, 0, 0.4);
  transition: all 0.5s ease-in-out;
}
.editor-holder.fullscreen {
  width: 100%;
  height: 100%;
  margin: 0;
  left: 0;
}
.editor-holder .toolbar {
  width: 100%;
  list-style: none;
  position: absolute;
  top: -2px;
  margin: 0;
  left: 0;
  z-index: 3;
  padding: 8px;
  background: #afafaf;
}
.editor-holder .toolbar li {
  display: inline-block;
}
.editor-holder .toolbar a {
  line-height: 20px;
  background: rgba(144, 144, 144, 0.6);
  color: grey;
  box-shadow: inset -1px -1px 1px 0px rgba(0, 0, 0, 0.28);
  display: block;
  border-radius: 3px;
  cursor: pointer;
}
.editor-holder .toolbar a:hover {
  background: rgba(144, 144, 144, 0.8);
}
.editor-holder .toolbar a.active {
  background: rgba(144, 144, 144, 0.8);
  box-shadow: none;
}
.editor-holder .toolbar i {
  color: #565656;
  padding: 8px;
}
.editor-holder textarea, .editor-holder code {
  width: 100%;
  height: auto;
  min-height: 450px;
  font-size: 14px;
  border: 0;
  margin: 0;
  top: 46px;
  left: 0;
  padding: 20px !important;
  line-height: 21px;
  position: absolute;
  font-family: Consolas, Liberation Mono, Courier, monospace;
  overflow: visible;
  transition: all 0.5s ease-in-out;
}
.editor-holder textarea {
  background: transparent !important;
  z-index: 2;
  height: auto;
  resize: none;
  color: #fff;
  text-shadow: 0px 0px 0px rgba(0, 0, 0, 0);
  text-fill-color: transparent;
  -webkit-text-fill-color: transparent;
}
.editor-holder textarea::-webkit-input-placeholder {
  color: white;
}
.editor-holder textarea:focus {
  outline: 0;
  border: 0;
  box-shadow: none;
}
.editor-holder code {
  z-index: 1;
}

pre {
  white-space: pre-wrap;
  white-space: -moz-pre-wrap;
  white-space: -pre-wrap;
  white-space: -o-pre-wrap;
  word-wrap: break-word;
}
pre code {
  background: #1f1f1f !important;
  color: #adadad;
}
pre code .hljs {
  color: #a9b7c6;
  background: #282b2e;
  display: block;
  overflow-x: auto;
  padding: 0.5em;
}
pre code .hljs-number,
pre code .hljs-literal,
pre code .hljs-symbol,
pre code .hljs-bullet {
  color: #6897BB;
}
pre code .hljs-keyword,
pre code .hljs-selector-tag,
pre code .hljs-deletion {
  color: #cc7832;
}
pre code .hljs-variable,
pre code .hljs-template-variable,
pre code .hljs-link {
  color: #629755;
}
pre code .hljs-comment,
pre code .hljs-quote {
  color: #808080;
}
pre code .hljs-meta {
  color: #bbb529;
}
pre code .hljs-string,
pre code .hljs-attribute,
pre code .hljs-addition {
  color: #6A8759;
}
pre code .hljs-section,
pre code .hljs-title,
pre code .hljs-type {
  color: #ffc66d;
}
pre code .hljs-name,
pre code .hljs-selector-id,
pre code .hljs-selector-class {
  color: #e8bf6a;
}
pre code .hljs-emphasis {
  font-style: italic;
}
pre code .hljs-strong {
  font-weight: bold;
}
4. Load the jQuery, Font Awesome icons kit, Emmet JS, and Highlight JS by adding the following CDN link before closing the body tag.
<script src='https://code.jquery.com/jquery-2.2.4.min.js'></script>
<script src='https://use.fontawesome.com/b2c0f76220.js'></script>
<script src='https://raw.githubusercontent.com/emmetio/textarea/master/emmet.min.js'></script>
<script src='//cdnjs.cloudflare.com/ajax/libs/highlight.js/9.5.0/highlight.min.js'></script>
5. Finally, initialize the Highlight JS with the following configurations and done.
var tabCharacter = " ";
var tabOffset = 2;
$(document).on('click', '#indent', function(e){
e.preventDefault();
var self = $(this);
self.toggleClass('active');
if(self.hasClass('active'))
{
tabCharacter = "\t";
tabOffset = 1;
}
else
{
tabCharacter = " ";
tabOffset = 2;
}
})
$(document).on('click', '#fullscreen', function(e){
e.preventDefault();
var self = $(this);
self.toggleClass('active');
self.parents('.editor-holder').toggleClass('fullscreen');
});
/*------------------------------------------
Render existing code
------------------------------------------*/
$(document).on('ready', function(){
hightlightSyntax();
emmet.require('textarea').setup({
pretty_break: true,
use_tab: true
});
});
/*------------------------------------------
Capture text updates
------------------------------------------*/
$(document).on('ready load keyup keydown change', '.editor', function(){
correctTextareaHight(this);
hightlightSyntax();
});
/*------------------------------------------
Resize textarea based on content
------------------------------------------*/
function correctTextareaHight(element)
{
var self = $(element),
outerHeight = self.outerHeight(),
innerHeight = self.prop('scrollHeight'),
borderTop = parseFloat(self.css("borderTopWidth")),
borderBottom = parseFloat(self.css("borderBottomWidth")),
combinedScrollHeight = innerHeight + borderTop + borderBottom;
if(outerHeight < combinedScrollHeight )
{
self.height(combinedScrollHeight);
}
}
// function correctTextareaHight(element){
// while($(element).outerHeight() < element.scrollHeight + parseFloat($(element).css("borderTopWidth")) + parseFloat($(element).css("borderBottomWidth"))) {
// $(element).height($(element).height()+1);
// };
// }
/*------------------------------------------
Run syntax hightlighter
------------------------------------------*/
function hightlightSyntax(){
var me = $('.editor');
var content = me.val();
var codeHolder = $('code');
var escaped = escapeHtml(content);
codeHolder.html(escaped);
$('.syntax-highight').each(function(i, block) {
hljs.highlightBlock(block);
});
}
/*------------------------------------------
String html characters
------------------------------------------*/
function escapeHtml(unsafe) {
return unsafe
.replace(/&/g, "&")
.replace(/</g, "<")
.replace(/>/g, ">")
.replace(/"/g, """)
.replace(/'/g, "'");
}
/*------------------------------------------
Enable tabs in textarea
------------------------------------------*/
$(document).delegate('.allow-tabs', 'keydown', function(e) {
var keyCode = e.keyCode || e.which;
if (keyCode == 9) {
e.preventDefault();
var start = $(this).get(0).selectionStart;
var end = $(this).get(0).selectionEnd;
// set textarea value to: text before caret + tab + text after caret
$(this).val($(this).val().substring(0, start)
+ tabCharacter
+ $(this).val().substring(end));
// put caret at right position again
$(this).get(0).selectionStart =
$(this).get(0).selectionEnd = start + tabOffset;
}
});
That’s all! hopefully, you have successfully created Textarea with Syntax highlighting feature. If you have any questions or suggestions, feel free to comment below.
Similar Code Snippets:

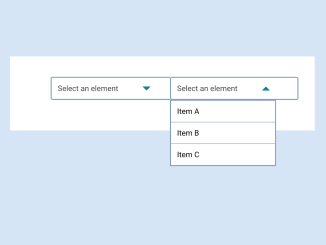
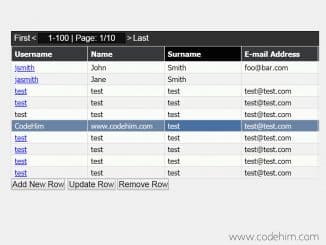
- Custom Select Dropdown Using ul li in JavaScript


I code and create web elements for amazing people around the world. I like work with new people. New people new Experiences.
I truly enjoy what I’m doing, which makes me more passionate about web development and coding. I am always ready to do challenging tasks whether it is about creating a custom CMS from scratch or customizing an existing system.