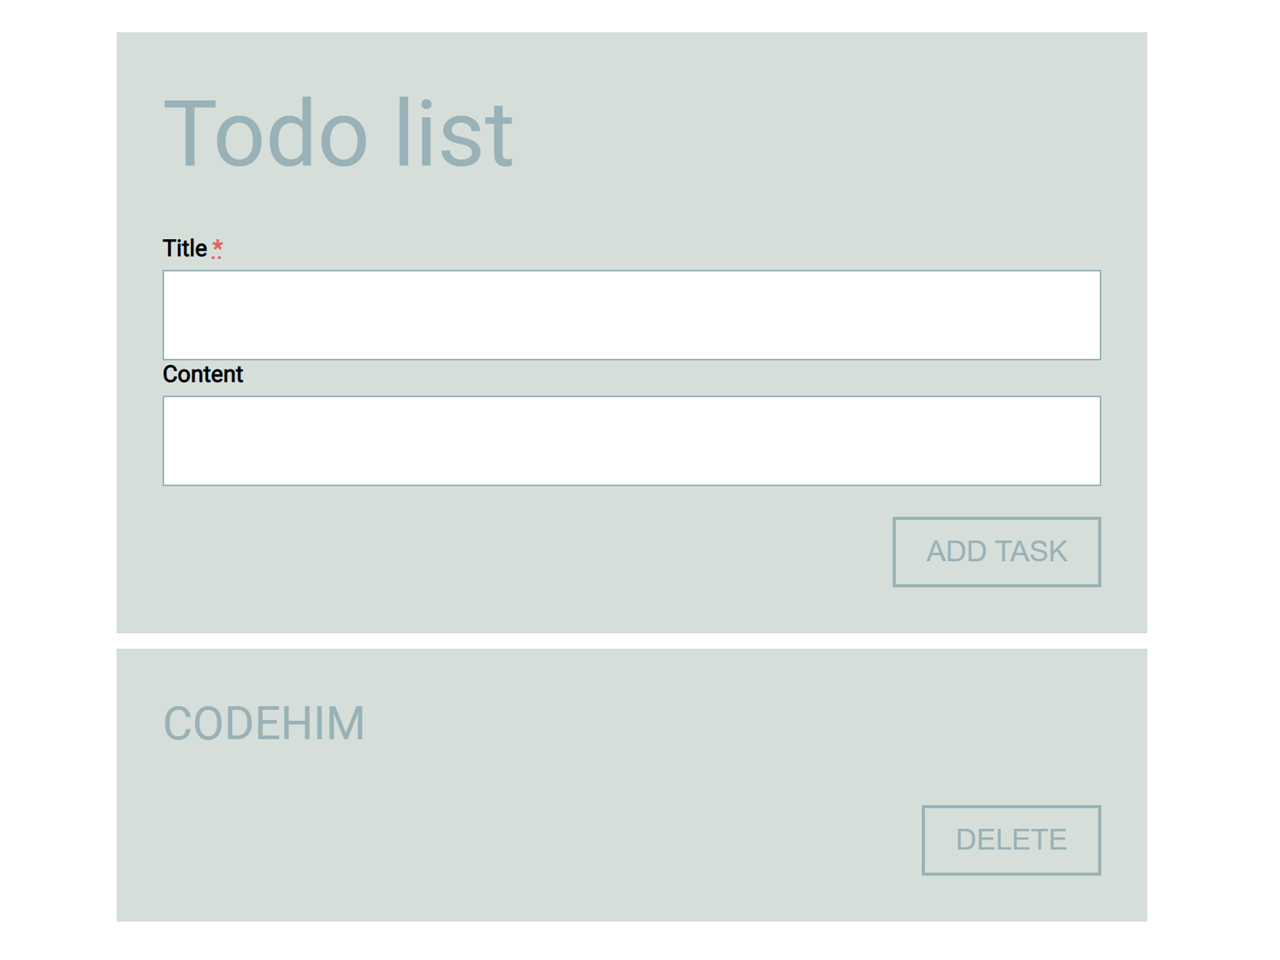

This JavaScript code snippet helps you to create a simple todo list. It comes with a simple interface to add task with title and its content. The added task can be deleted after done.
How to Create Simple Todo List using JavaScript
1. First of all, create the HTML structure as follows:
  <div class="todo">
    <section>
        <h1>Todo list</h1>
        <form id="form">
            <p>
                <label for="title">
                    <span>Title <strong><abbr title="required">*</abbr></strong></span>
                    <input type="text" id="title" name="title"  />
                </label>
            </p>
            <p>
                <label for="content">
                    <span>Content </span>
                    <input type="text" id="content" name="content" />
                </label>
            </p>
            <p>
                <button id="add-task" type="button">Add task</button>
            </p>
        </form>
    </section>
</div>
<div id="todos"></div>
2. After that, add the following CSS styles to your project:
@import url(https://fonts.googleapis.com/css?family=Open+Sans:400,700);
*, *:before, *:after {
  -moz-box-sizing: border-box;
  -webkit-box-sizing: border-box;
  box-sizing: border-box;
}

body {
  background-color: #99B2B7;
  font-family: "Open Sans", sans-serif;
  font-size: 1em;
}

section {
  background-color: #D5DED9;
  padding: 30px;
  margin-bottom: 10px;
  overflow: hidden;
  max-width: 800px;
}
section:nth-child(even) {
  background-color: white;
}

h1,
h2 {
  font-weight: 200;
  font-size: 4em;
  margin: 0 0 0.5em;
  color: #99B2B7;
}

h2 {
  font-size: 2em;
}

button {
  border: 2px solid #99B2B7;
  background-color: transparent;
  padding: 10px 20px;
  cursor: pointer;
  font-size: 1.25em;
  color: #99B2B7;
  margin-top: 20px;
  text-transform: uppercase;
  text-align: center;
  float: right;
  -webkit-transition: all 0.3s;
  -moz-transition: all 0.3s;
  -ms-transition: all 0.3s;
  -o-transition: all 0.3s;
  transition: all 0.3s;
}
button:hover, button:focus {
  background-color: #99B2B7;
  color: #D5DED9;
}

label {
  font-weight: bold;
}
label span {
  margin-bottom: 5px;
  display: block;
}
label span strong {
  color: #dd6666;
}

input {
  padding: 20px;
  width: 100%;
  border: 1px solid #99B2B7;
  border-radius: 0;
  font-size: 1em;
}
input.error {
  border-color: #dd6666;
}
3. Finally, add the following JavaScript code and done.
(function() {
    "use strict";

    var todoApp = (function() {
        document.addEventListener("DOMContentLoaded", function() {
            init();
        });

        var init = function() {
            document.getElementById("add-task").addEventListener("click", function() {
                var newTitle = document.getElementById("title").value,
                    newContent = document.getElementById("content").value;
                if (validate(newTitle)) {
                    addTodo(newTitle, newContent);
                }
            }, false);

            document.getElementById("todos").addEventListener("click", function(e) {
                if (e.target && e.target.nodeName == "BUTTON") {
                    deleteTodo(e.target.parentNode);
                }
            }, false);
        };

        var validate = function(newTitle, newContent) {
            if (newTitle.length === 0) {
                var target = document.getElementById("title");
                target.className = target.className + " error";
                return false;
            } else {
                return true;
            }
        };

        var addTodo = function(title, content) {
            var newTodo = document.createElement("section"),
                h2 = document.createElement("h2"),
                newTitle = document.createTextNode(title),
                p = document.createElement("p"),
                newContent = document.createTextNode(content),
                button = document.createElement("button"),
                deleteBtn = document.createTextNode("delete");

            h2.appendChild(newTitle);
            newTodo.appendChild(h2);
            p.appendChild(newContent);
            newTodo.appendChild(p);
            button.appendChild(deleteBtn);
            newTodo.appendChild(button);

            document.getElementById("todos").appendChild(newTodo);
            document.getElementById("form").reset();
        };

        var deleteTodo = function(todo) {
            todo.parentNode.removeChild(todo);
        };
    }());
}());
That’s all! hopefully, you have successfully integrated this todo list code snippet into your project. If you have any questions or facing any issues, feel free to comment below.
Similar Code Snippets:
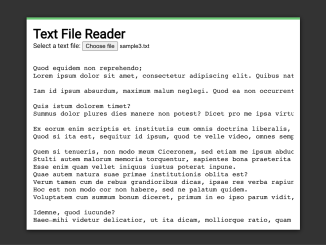
 Read Text File And Display in HTML Using JavaScript
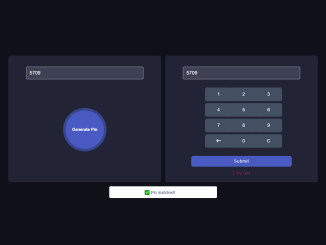
- Generate 4 Digit Random Pin and Validate in JavaScript
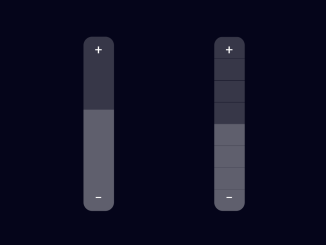
- Vertical Range Slider Using HTML CSS
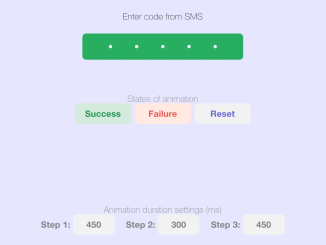
- SMS OTP Input Animation in HTML CSS

I code and create web elements for amazing people around the world. I like work with new people. New people new Experiences.
I truly enjoy what I’m doing, which makes me more passionate about web development and coding. I am always ready to do challenging tasks whether it is about creating a custom CMS from scratch or customizing an existing system.