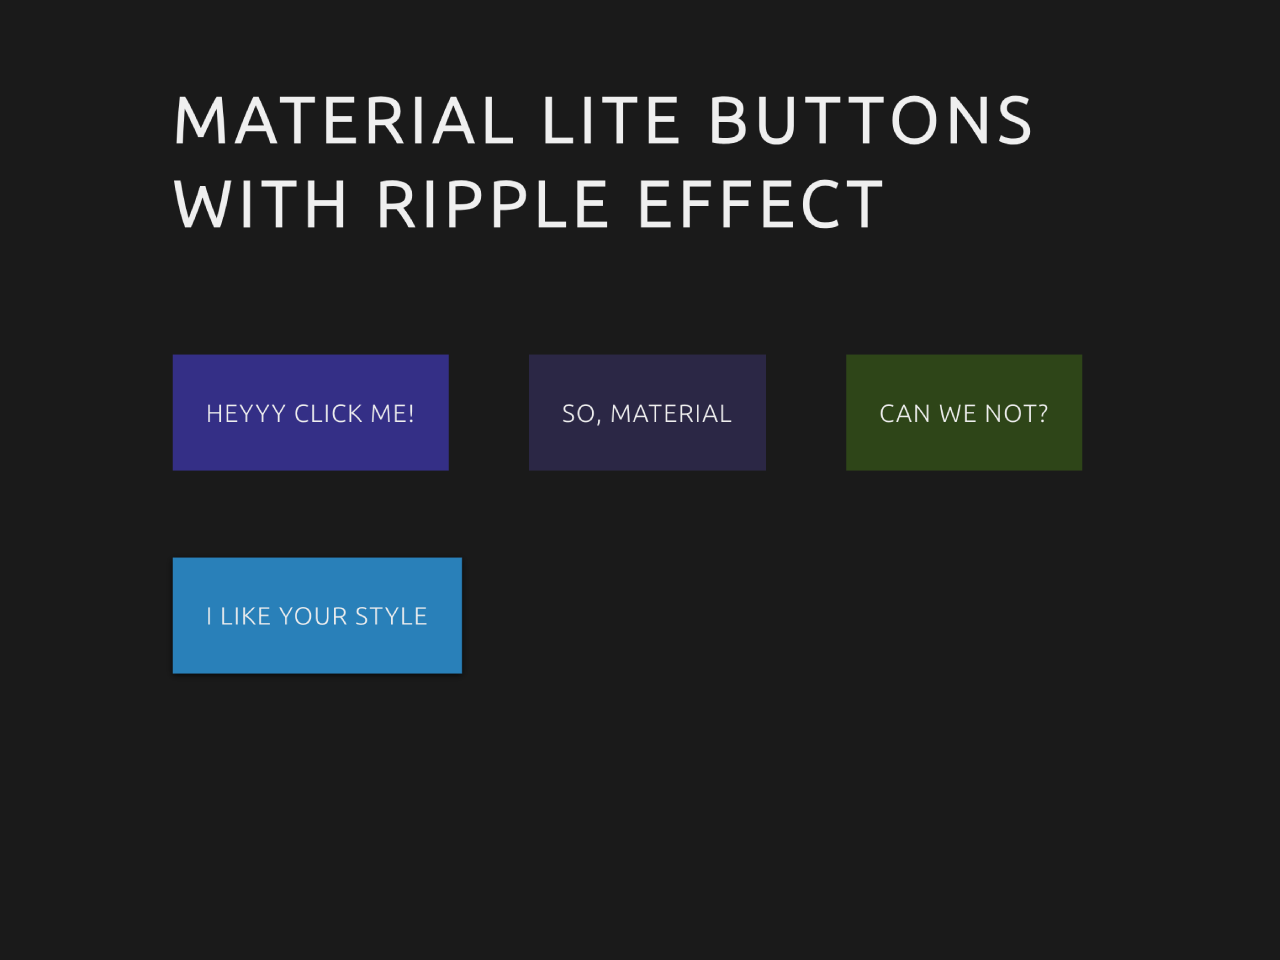

This code creates Material Design buttons with a ripple effect. When clicked, buttons show a ripple-like animation. It helps add interactive elements to a website’s buttons, enhancing user experience. The JavaScript calculates and animates ripples on button clicks, while the CSS styles control their appearance.
How to Create Material Design Buttons With Ripple Effect
1. First of all, load the Normalize CSS by adding the following CDN link into the head tag of your HTML document.
<link rel="stylesheet" href="https://cdnjs.cloudflare.com/ajax/libs/normalize/5.0.0/normalize.min.css">
2. Create an HTML file with the desired button elements. Each button should have the class “ripple” to enable the ripple effect.
<div class="container">
  <section>
    <h1>MATERIAL lite buttons with RIPPLE effect</h1>
    <span class="ripple b1">HEYYY CLICK ME!</span>
    <span class="ripple b2">SO, MATERIAL</span>
    <span class="ripple b3">CAN WE NOT?</span>
    <span class="ripple b4">I LIKE YOUR STYLE</span></section>

  <section>
    <h1>Use another ripple color</h1>
    <span class="ripple b1" data-ripple-color="#f39c12">OH NO, DIFFERENT COLORS!?</span>
    <span class="ripple b2" data-ripple-color="#c0392b">IT'S SO COOL</span>
    <span class="ripple b3" data-ripple-color="#2ecc71">MIND BLOWNN</span>
    <span class="ripple b4" data-ripple-color="#f1c40f">THANKS</span></section>
</div>

<a target="_blank" href="https://twitter.com/hendrysadrak">@hendrysadrak</a>
3. Add the following CSS styles to your project (styles.css). These styles define the appearance of the buttons and the ripple effect.
/**
 * EFFECT CODE
 */
@import url(https://fonts.googleapis.com/css?family=Ubuntu:300);
.ripple {
  overflow: hidden;
  position: relative;
  box-sizing: border-box;
  transform: translate3d(0, 0, 0);
}

.ripple-effect {
  position: absolute;
  border-radius: 50%;
  background-color: rgba(255, 255, 255, 0.5);
  -webkit-user-select: none;
     -moz-user-select: none;
      -ms-user-select: none;
          user-select: none;
  pointer-events: none;
  padding: 0;
  margin: 0;
  opacity: 0.6;
  transform: translate3d(-50%, -50%, 0);
}

/**
 * DEMO CODE
 */
h1 {
  font-size: 20px;
  line-height: 20px;
  padding: 20px;
  margin: 0;
  color: #efefef;
  -webkit-user-select: none;
     -moz-user-select: none;
      -ms-user-select: none;
          user-select: none;
}

span {
  display: inline-block;
  padding: 20px;
  color: #eee;
  cursor: pointer;
  letter-spacing: 0.7px;
  -webkit-user-select: none;
     -moz-user-select: none;
      -ms-user-select: none;
          user-select: none;
  transition: box-shadow 0.4s;
  box-shadow: 0px 1px 4px transparent;
  margin: 20px;
  font-size: 15px;
}
span:hover {
  box-shadow: 0px 1px 4px rgba(0, 0, 0, 0.8);
}
span:active {
  transition: 0.2s;
  box-shadow: 0px 1px 4px transparent;
}

.b1 {
  background-color: #342F86;
}

.b2 {
  background-color: #2B2745;
}

.b3 {
  background-color: #2E4518;
}

.b4 {
  background-color: #2980b9;
}

body{
  background-color: #1a1a1a !important;
  color: #fefefe;
  font-family: "Ubuntu";
  text-transform: uppercase;
  letter-spacing: 0.2em;
  font-size: 1.3em;
  line-height: 2;
  font-weight: 300;
  text-rendering: optimizeLegibility;
  text-align: left;
   position: relative;
  min-height: 720px;
}

.container {
  position: absolute;
  top: 50%;
  left: 50%;
  transform: translate(-50%, -50%);
}

a {
  text-decoration: none;
  position: absolute;
  bottom: 10px;
  right: 10px;
  text-align: right;
  color: #eee;
  font-size: 15px;
  line-height: 15px;
}
4. Load the jQuery by adding the following CDN link before closing the body tag:
<script src='https://cdnjs.cloudflare.com/ajax/libs/jquery/2.1.3/jquery.min.js'></script>
5. Finally, incorporate the following JavaScript code into a separate script.js file. This code handles the ripple effect calculation and animation.
$(document).on('click', '.ripple', function(e) {
  var $rippleElement = $('<span class="ripple-effect" />'),
    $buttonElement = $(this),
    btnOffset = $buttonElement.offset(),
    xPos = e.pageX - btnOffset.left,
    yPos = e.pageY - btnOffset.top,
    size = parseInt(Math.min($buttonElement.height(), $buttonElement.width()) * 0.5),
    animateSize = parseInt(Math.max($buttonElement.width(), $buttonElement.height()) * Math.PI);

  $rippleElement
    .css({
      top: yPos,
      left: xPos,
      width: size,
      height: size,

      backgroundColor: $buttonElement.data("ripple-color")
    })
    .appendTo($buttonElement)
    .animate({
      width: animateSize,
      height: animateSize,
      opacity: 0
    }, 700, function() {
      $(this).remove();
    });
});
Optionally, customize the ripple colors by adding a “data-ripple-color” attribute to each button element with a valid CSS color value.
That’s all! hopefully, you have successfully created buttons with ripple effect on your website. If you have any questions or suggestions, feel free to comment below.
Similar Code Snippets:
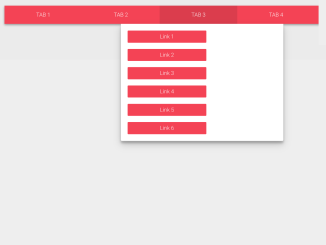
 Material Design Nav Bar with Hover Dropdown
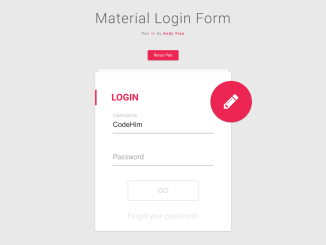
- Animated Login Form Using Material Design
- Elastic SVG Sidebar Using Material Design
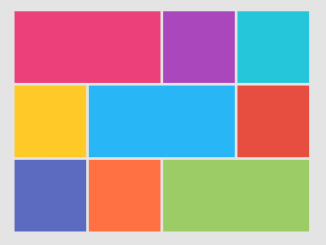
- Material Design Tiles Layout
- Material Design Input Field Using CSS
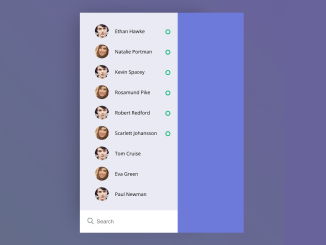
- Material Design Team Member Profile UI


I code and create web elements for amazing people around the world. I like work with new people. New people new Experiences.
I truly enjoy what I’m doing, which makes me more passionate about web development and coding. I am always ready to do challenging tasks whether it is about creating a custom CMS from scratch or customizing an existing system.