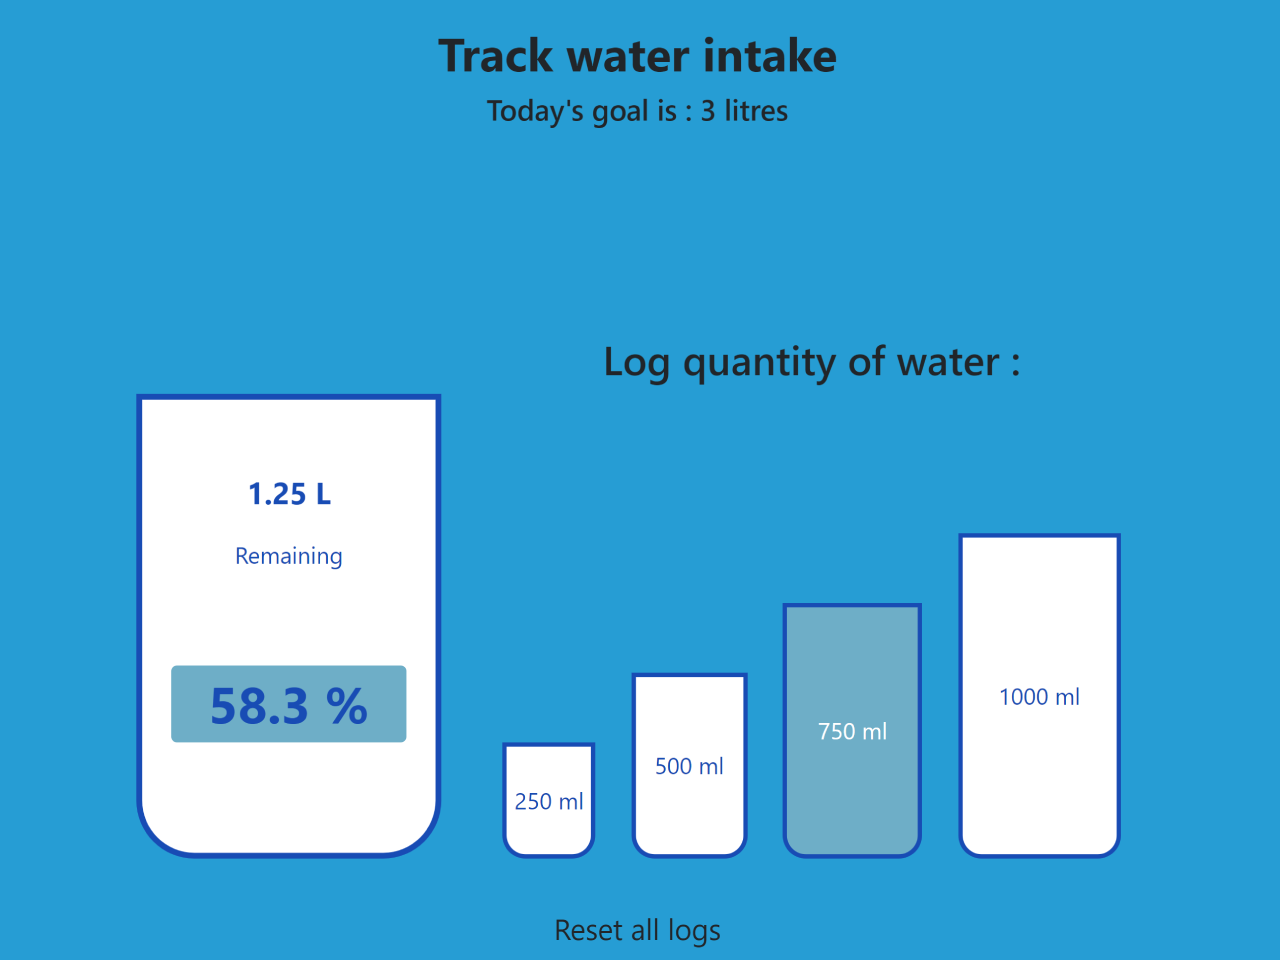

This JavaScript calculator allows you to track and manage your daily water intake. It features a user-friendly interface that helps you visualize your progress and achieve your hydration goals. With a simple click on various cup sizes, you can log your water consumption. The big cup display shows the remaining water in liters and the percentage of your daily goal achieved.
Additionally, there’s a convenient reset button to start over. This code is a handy tool to monitor and maintain your daily water intake effectively.
How to Create a Water Intake Calculator In JavaScript
1. To get started, create an HTML document and set up the basic structure. Make sure to include the necessary external resources using the provided CDN links in the <head> section of your HTML file.
<link rel='stylesheet' href='https://fonts.googleapis.com/css?family=Ubuntu&display=swap'> <link rel='stylesheet' href='https://stackpath.bootstrapcdn.com/bootstrap/4.5.0/css/bootstrap.min.css'>
2. Within your body element, add the following HTML code. This code creates the interface for the Water Intake Calculator, including a header, a big cup display, and a section for logging water consumption.
<!-- header section -->
<header id="header">
	<div class="container mb-5">
		<div class="row height align-items-center">
			<div class="col text-center mx-auto">
				<h2 class="font-weight-bold">Track water intake</h2>
				<h5>Today's goal is : 3 litres</h5>
			</div>
		</div>
	</div>
</header>
<!-- end of header section -->

<!-- main section -->
<section id="main">
	<div class="container">
		<div class="row align-items-end">
			<!-- big cup -->
			<div class="col-md-4 text-center d-flex justify-content-center">
				<div class="big-cup">
					<div class="remained d-flex flex-column mt-5">
						<p class="litres font-weight-bold">3.00 L</p>
						<p class="remaining-text">Remaining</p>
						<div class="percentage font-weight-bold rounded align-self-center mt-5">
							0 %
						</div>
					</div>
				</div>
			</div>
			<!-- end of big cup -->

			<!-- logging area -->
			<div class="col-md-8 text-center">
				<h3 class="heading">Log quantity of water :</h3>
				<div class="cups d-flex justify-content-around align-items-end">
					<div class="small-cup cup-250">250 ml</div>
					<div class="small-cup cup-500">500 ml</div>
					<div class="small-cup cup-750">750 ml</div>
					<div class="small-cup cup-1000">1000 ml</div>
				</div>
			</div>
			<!-- end of logging area -->
		</div>
	</div>

	<div class="container">
		<div class="row mt-4 justify-content-center">
			<button class="btn btn-lg reset-button">Reset all logs</button>
		</div>
	</div>
</section>
<!-- end of main section -->
3. Now, apply the following CSS styles to make the application visually appealing and functional. The CSS code enhances the design and responsiveness of the interface.
body {
	background: #279dd4;
	color: white;
	font-family: "Ubuntu", sans-serif;
}

.height {
	min-height: 20vh;
}

.big-cup {
	background: white;
	color: rgb(24, 76, 180);
	border: 0.3rem solid rgb(24, 76, 180);
	border-radius: 0 0 2.5rem 2.5rem;
	width: 15em;
	min-height: 20em;
}

.litres {
	font-size: 1.3rem;
}

.percentage {
	font-size: 2.2rem;
	background: rgb(110, 174, 199);
	min-width: 80%;
}

.cups {
	min-height: 20em;
}

.small-cup {
	background: white;
	color: rgb(24, 76, 180);
	border: 0.2rem solid rgb(24, 76, 180);
	border-radius: 0 0 1rem 1rem;
	cursor: pointer;
	display: flex;
	justify-content: center;
	align-items: center;
	transition: all 0.3s ease;
}

.small-cup:hover {
	background: rgb(110, 174, 199);
	color: white;
}

.cup-250 {
	height: 5em;
	width: 4em;
}

.cup-500 {
	height: 8em;
	width: 5em;
}

.cup-750 {
	height: 11em;
	width: 6em;
}

.cup-1000 {
	height: 14em;
	width: 7em;
}

.reset-button {
	background: white;
	color: rgb(24, 76, 180);
	border: 0.2rem solid rgb(24, 76, 180);
	cursor: pointer;
}

.reset-button:hover {
	background: rgb(110, 174, 199);
	color: white;
}

@media screen and (max-width: 768px) {
	.heading {
		margin-top: 1em;
	}

	.reset-button {
		margin-bottom: 1em;
	}
}
4. Finally, incorporate the JavaScript code into your HTML document just before the closing </body> tag. This code adds interactive features to the Water Intake Calculator.
const smallCups = document.querySelectorAll(".small-cup");
const litres = document.querySelector(".litres");
const percentage = document.querySelector(".percentage");
const remained = document.querySelector(".remained");
const todaysGoalText = document.querySelector("h5");
const resetButton = document.querySelector(".reset-button");

let totalWater = 3;
let percentValue = 0;

smallCups.forEach((cup, index) => {
	cup.addEventListener("click", () => updateBigCup(index));
});

resetButton.addEventListener("click", () => resetLogs());

function updateBigCup(index) {
	const logValue = parseInt(smallCups[index].innerHTML);

	totalWater -= logValue / 1000;
	litres.innerText = totalWater + " L";

	percentValue += (logValue / 3000) * 100;
	percentage.innerText = percentValue.toFixed(1) + " %";

	if (percentValue >= 99) {
		litres.innerText = "0 L";
		percentage.innerText = "100 %";
		todaysGoalText.innerText = "You have achieved your daily goal. Keep it up !";
	}
}

function resetLogs() {
	totalWater = 3;
	percentValue = 0;
	litres.innerText = "3.00 L";
	percentage.innerText = "0 %";
	todaysGoalText.innerText = `Today's goal is : 3 litres`;
}
That’s all! hopefully, you have successfully created a Water Intake Calculator In JavaScript. If you have any questions or suggestions, feel free to comment below.
Similar Code Snippets:
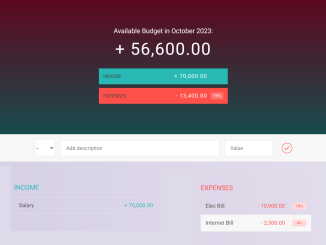
 Simple Budget Calculator in JavaScript
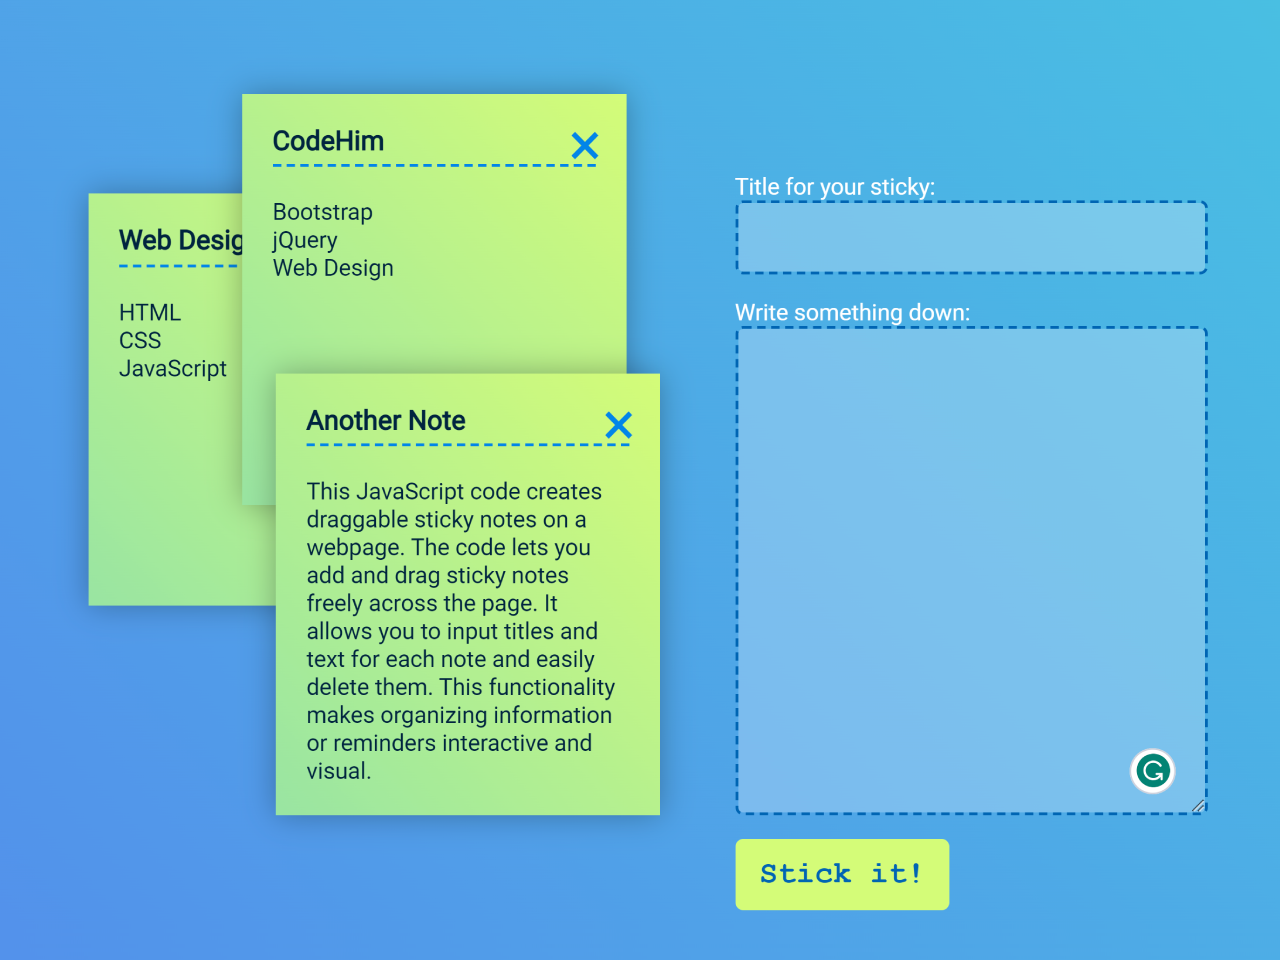
- Sticky Notes JavaScript Source Code
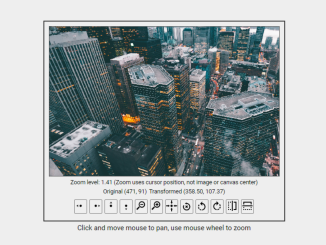
- JavaScript Image Viewer with Zoom Pan Rotate and Flip
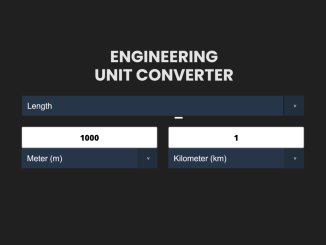
- JavaScript Unit Converter Source Code
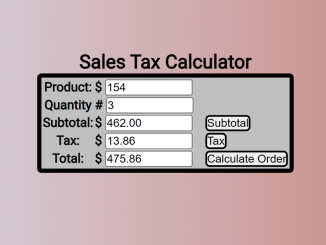
- Sales Tax Calculator JavaScript
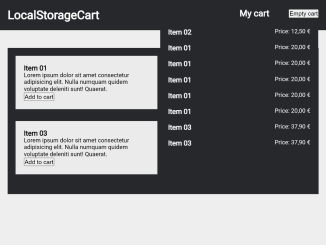
- JavaScript Add to Cart with Local Storage
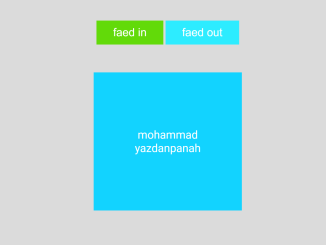
- Fadein And Fadeout in JavaScript
- Scroll Progress Bar in JavaScript

I code and create web elements for amazing people around the world. I like work with new people. New people new Experiences.
I truly enjoy what I’m doing, which makes me more passionate about web development and coding. I am always ready to do challenging tasks whether it is about creating a custom CMS from scratch or customizing an existing system.