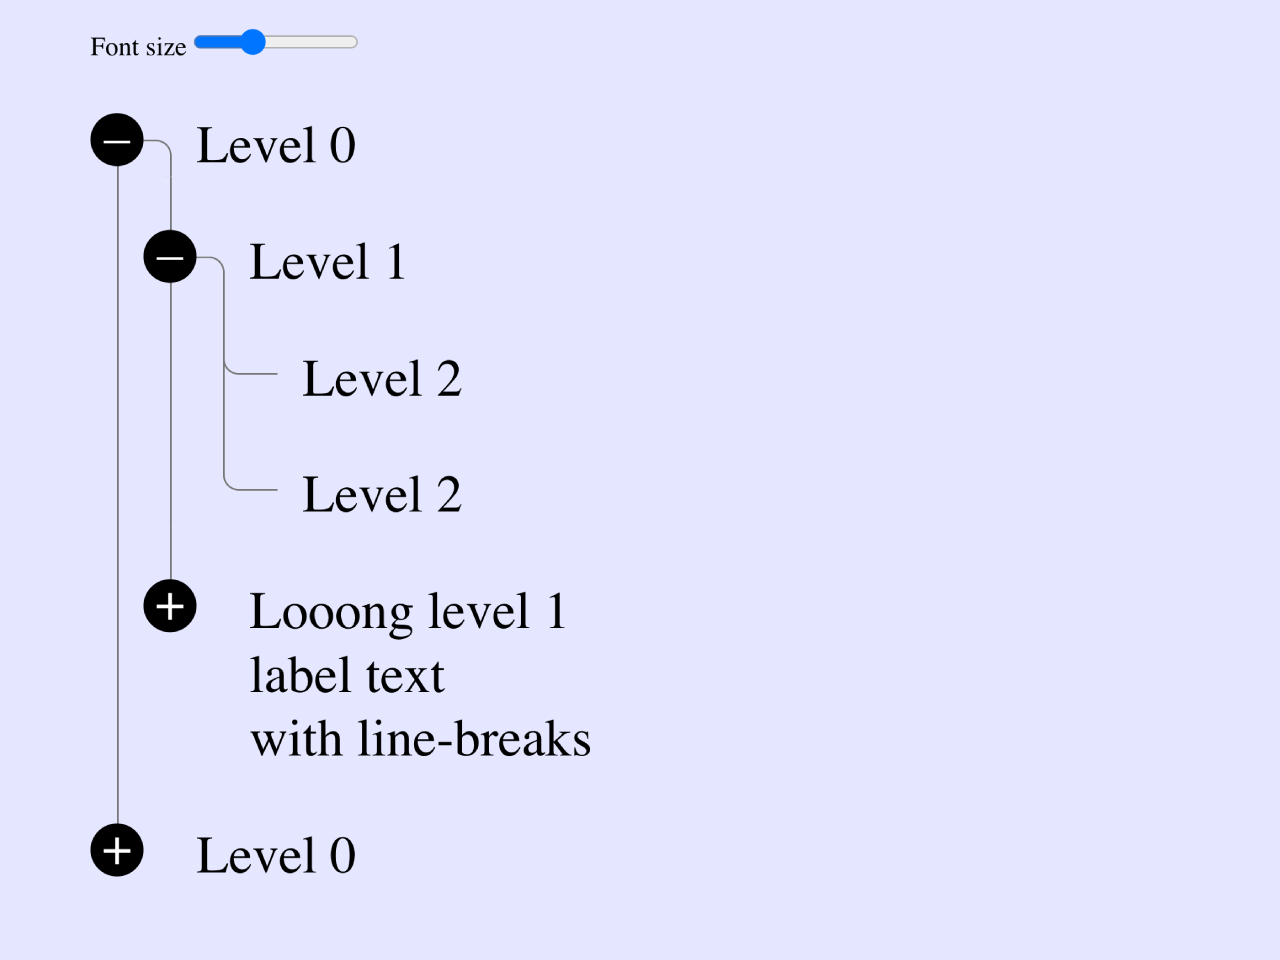

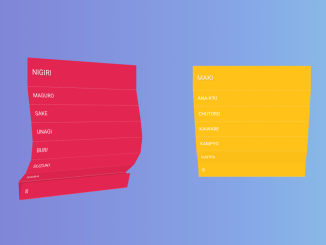
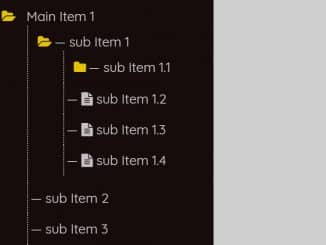
This CSS code snippet helps you to create a collapsible tree view with lines and expandable branches using ul li elements. Employing checkboxes and labels, allows users to toggle visibility effortlessly. The JavaScript component offers a convenient font size adjustment feature, enhancing user experience. Perfect for organizing and presenting hierarchical information on your website, this code brings a modern and functional touch to your design.
How to Create CSS Tree View With Lines Using Ul Li
1. First of all, load the Reset CSS and Prefixfree following assets into the head tag of your HTML document.
<link rel="stylesheet" href="https://cdnjs.cloudflare.com/ajax/libs/meyer-reset/2.0/reset.min.css">
<script src="https://cdnjs.cloudflare.com/ajax/libs/prefixfree/1.0.7/prefixfree.min.js"></script>
2. Create an unordered list (<ul>) to represent your tree structure. Use nested list items (<li>) to organize the hierarchy. Apply the ‘tree’ class to the top-level list to activate the styling.
<div id="fontSizeWrapper">
  <label for="fontSize">Font size</label>
  <input type="range" value="1" id="fontSize" step="0.5" min="0.5" max="5" />
</div>
<ul class="tree">
  <li>
    <input type="checkbox" checked="checked" id="c1" />
    <label class="tree_label" for="c1">Level 0</label>
    <ul>
      <li>
        <input type="checkbox" checked="checked" id="c2" />
        <label for="c2" class="tree_label">Level 1</label>
        <ul>
          <li><span class="tree_label">Level 2</span></li>
          <li><span class="tree_label">Level 2</span></li>
        </ul>
      </li>
      <li>
        <input type="checkbox" id="c3" />
        <label for="c3" class="tree_label">Looong level 1 <br/>label text <br/>with line-breaks</label>
        <ul>
          <li><span class="tree_label">Level 2</span></li>
          <li>
            <input type="checkbox" id="c4" />
            <label for="c4" class="tree_label"><span class="tree_custom">Specified tree item view</span></label>
            <ul>
              <li><span class="tree_label">Level 3</span></li>
            </ul>
          </li>
        </ul>
      </li>
    </ul>
  </li>


  <li>
    <input type="checkbox" id="c5" />
    <label class="tree_label" for="c5">Level 0</label>
    <ul>
      <li>
        <input type="checkbox" id="c6" />
        <label for="c6" class="tree_label">Level 1</label>
        <ul>
          <li><span class="tree_label">Level 2</span></li>
        </ul>
      </li>
      <li>
        <input type="checkbox" id="c7" />
        <label for="c7" class="tree_label">Level 1</label>
        <ul>
          <li><span class="tree_label">Level 2</span></li>
          <li>
            <input type="checkbox" id="c8" />
            <label for="c8" class="tree_label">Level 2</label>
            <ul>
              <li><span class="tree_label">Level 3</span></li>
            </ul>
          </li>
        </ul>
      </li>
    </ul>
  </li>
</ul>
3. Feel free to customize the tree labels and content according to your needs. Adjust the label text and nesting to represent your hierarchical data.
body {
  margin: 30px;
  font-family: sans-serif;
  }


#fontSizeWrapper { font-size: 16px; }

#fontSize {
  width: 100px;
  font-size: 1em;
  }

/* ————————————————————–
  Tree core styles
*/
.tree { margin: 1em; }

.tree input {
  position: absolute;
  clip: rect(0, 0, 0, 0);
  }

.tree input ~ ul { display: none; }

.tree input:checked ~ ul { display: block; }

/* ————————————————————–
  Tree rows
*/
.tree li {
  line-height: 1.2;
  position: relative;
  padding: 0 0 1em 1em;
  }

.tree ul li { padding: 1em 0 0 1em; }

.tree > li:last-child { padding-bottom: 0; }

/* ————————————————————–
  Tree labels
*/
.tree_label {
  position: relative;
  display: inline-block;
  background: #fff;
  }

label.tree_label { cursor: pointer; }

label.tree_label:hover { color: #666; }

/* ————————————————————–
  Tree expanded icon
*/
label.tree_label:before {
  background: #000;
  color: #fff;
  position: relative;
  z-index: 1;
  float: left;
  margin: 0 1em 0 -2em;
  width: 1em;
  height: 1em;
  border-radius: 1em;
  content: '+';
  text-align: center;
  line-height: .9em;
  }

:checked ~ label.tree_label:before { content: '–'; }

/* ————————————————————–
  Tree branches
*/
.tree li:before {
  position: absolute;
  top: 0;
  bottom: 0;
  left: -.5em;
  display: block;
  width: 0;
  border-left: 1px solid #777;
  content: "";
  }

.tree_label:after {
  position: absolute;
  top: 0;
  left: -1.5em;
  display: block;
  height: 0.5em;
  width: 1em;
  border-bottom: 1px solid #777;
  border-left: 1px solid #777;
  border-radius: 0 0 0 .3em;
  content: '';
  }

label.tree_label:after { border-bottom: 0; }

:checked ~ label.tree_label:after {
  border-radius: 0 .3em 0 0;
  border-top: 1px solid #777;
  border-right: 1px solid #777;
  border-bottom: 0;
  border-left: 0;
  bottom: 0;
  top: 0.5em;
  height: auto;
  }

.tree li:last-child:before {
  height: 1em;
  bottom: auto;
  }

.tree > li:last-child:before { display: none; }

.tree_custom {
  display: block;
  background: #eee;
  padding: 1em;
  border-radius: 0.3em;
}
4. Load the jQuery JavaScript library by adding the following CDN link before closing the body tag:
<script src='//cdnjs.cloudflare.com/ajax/libs/jquery/2.1.3/jquery.min.js'></script>
5. Finally, add the following JavaScript function to activate the tree view.
function isNumber(n) {
  return !isNaN(parseFloat(n)) && isFinite(n);
}

function setFontSize(el) {
    var fontSize = el.val();

    if ( isNumber(fontSize) && fontSize >= 0.5 ) {
      $('body').css({ fontSize: fontSize + 'em' });
    } else if ( fontSize ) {
      el.val('1');
      $('body').css({ fontSize: '1em' });
    }
}

$(function() {

  $('#fontSize')
    .bind('change', function(){ setFontSize($(this)); })
    .bind('keyup', function(e){
      if (e.keyCode == 27) {
        $(this).val('1');
        $('body').css({ fontSize: '1em' });
      } else {
        setFontSize($(this));
      }
    });

  $(window)
    .bind('keyup', function(e){
      if (e.keyCode == 27) {
        $('#fontSize').val('1');
        $('body').css({ fontSize: '1em' });
      }
    });

});
That’s all! hopefully, you have successfully created CSS tree View With Lines on your website. If you have any questions or suggestions, feel free to comment below.
Similar Code Snippets:

- CSS 3D Folding Dropdown Animation
- HTML Multilevel Accordion Navigation Menu
- Pure CSS One Page Vertical Navigation


I code and create web elements for amazing people around the world. I like work with new people. New people new Experiences.
I truly enjoy what I’m doing, which makes me more passionate about web development and coding. I am always ready to do challenging tasks whether it is about creating a custom CMS from scratch or customizing an existing system.