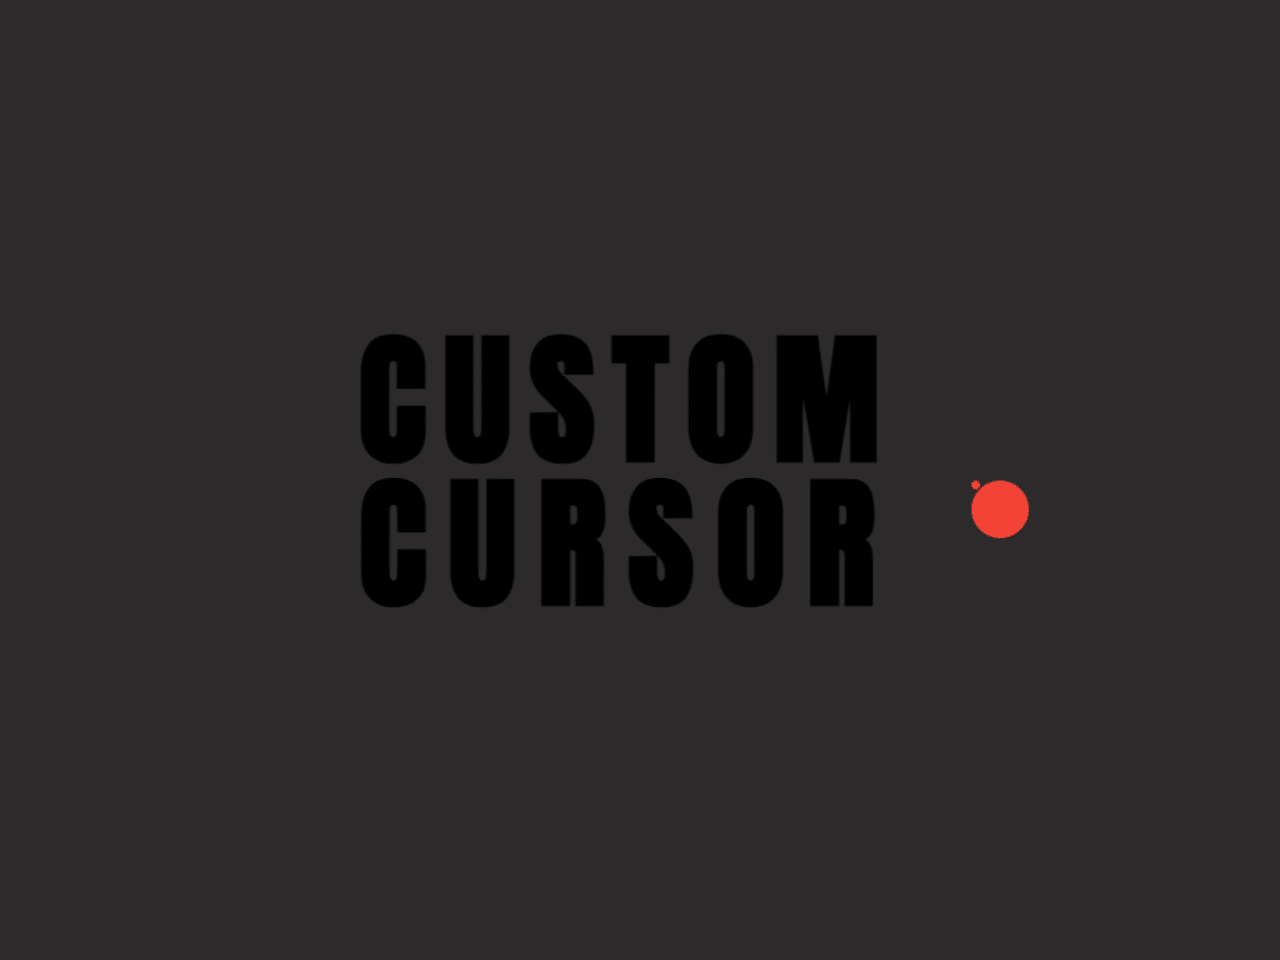

This HTML code snippet allows you to create a custom cursor on your web page. It works by tracking your mouse movements and displaying a customized cursor element. This code is helpful for enhancing the visual appeal and interactivity of your website.
You can use this code in your website’s design to replace the default cursor with a custom one, adding a unique and eye-catching element to your site. This enhances user experience by making your website more visually appealing and engaging.
How to Integrate HTML Code to Create a Custom Cursor
1. Start by creating the basic HTML structure for your webpage. You can place the custom cursor on any page or element you prefer. Here’s a sample structure: (Optional)
<h1>CUSTOM<br><span>CURSOR</span></h1>
2. Add the necessary CSS styles to define the appearance of your custom cursor. This example uses Google Fonts for typography and sets up the cursor styles:
@import url('https://fonts.googleapis.com/css?family=Anton');

.cursor {
  left: 0;
  top: 0;
  width: 10px;
  height: 10px;
  background-color: #f44336;
  position: absolute;
  border-radius: 5px;
}

.cursor__follower {
  transition: transform .4s;
  width: 6px;
  height: 6px;
}

/* Unrelated styles */
.cd__main {
  cursor: none;
  background-color: #2d2b2b !important;
  display: flex;
  justify-content: center;
  align-items: center;
  height: 100vh;
}

h1 {
  font-family: 'Anton', 'helvetica', sans-serif;
  font-size: 100px;
  letter-spacing: 12px;
  line-height: 1;
  text-align: center;
}

h1 span {
  letter-spacing: 15px;
}
3. The JavaScript code handles the cursor’s movement and behavior. It creates both the real cursor and a follower cursor, which mimic your mouse movements:
const root = document.querySelector('html');

// Real cursor element
const cursor = document.createElement('div');
cursor.classList.add('cursor');
root.appendChild(cursor);

// Following extra cursor element
const follower = document.createElement('div');
follower.classList.add('cursor', 'cursor__follower');
root.appendChild(follower);


root.addEventListener('mousemove', e => {
  setPosition(follower, e);
  setPosition(cursor, e);
});

function setPosition(element, e) {
  element.style.transform = `translate3d(${e.clientX}px, ${e.clientY}px, 0)`;
}
With the HTML, CSS, and JavaScript in place, your custom cursor is now functional. Customize the cursor’s appearance and styles in the CSS section to match your website’s design.
That’s all! hopefully, you have successfully integrated this Custom Cursor HTML code into your project. If you have any questions or suggestions, feel free to comment below.
Similar Code Snippets:

- Increment and Decrement Button in HTML
- CSS3 Buttons With Interactive Hover Effect
- Periodic Table in HTML Code
- Circular Scroll Indicator Using Pure CSS
- Table Background Image in HTML


I code and create web elements for amazing people around the world. I like work with new people. New people new Experiences.
I truly enjoy what I’m doing, which makes me more passionate about web development and coding. I am always ready to do challenging tasks whether it is about creating a custom CMS from scratch or customizing an existing system.