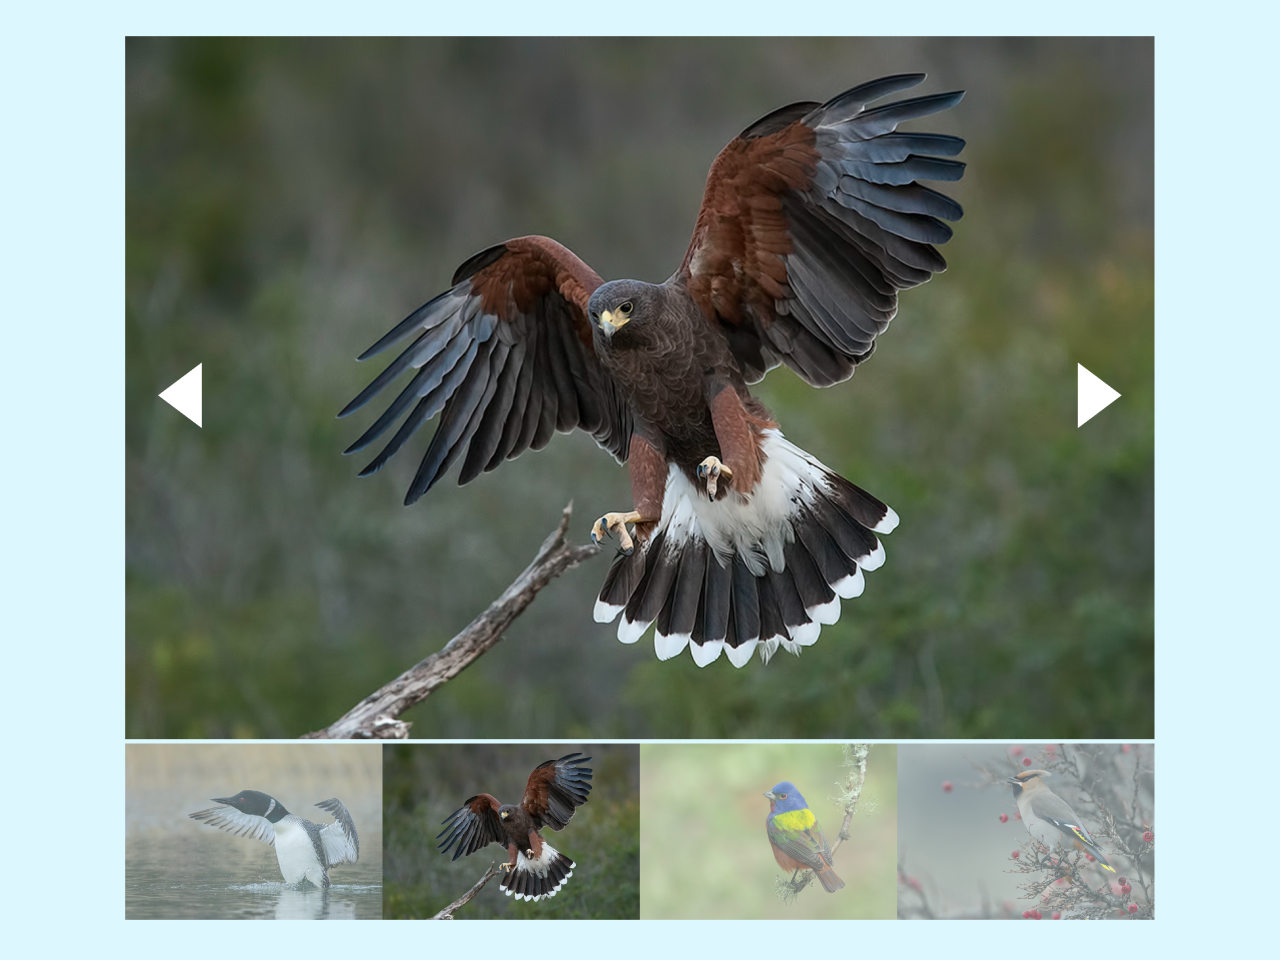

This code creates a JavaScript-powered image slideshow with left and right navigation buttons. It allows you to showcase a series of images with thumbnails and interactive controls. The code works by controlling the visibility of images and their corresponding thumbnails. It’s helpful for creating engaging image galleries or sliders on your web page, enhancing user experience and visual content presentation.
You can use this code on your website to enhance user engagement and showcase image galleries or sliders. It adds interactivity to your site, allowing visitors to navigate through images easily.
How to Create Slideshow with Buttons in JavaScript
1. First, create an HTML structure for your slideshow. Use the following HTML code as a template. Make sure to replace image URLs with your own.
<div class="slide-content">
        <div class="mySlides">
            <img src="https://www.naturespicsonline.com/system/carousel_image/file/199/8.jpg" style="width:100%">
        </div>
        <div class="mySlides">
            <img src="https://www.naturespicsonline.com/system/carousel_image/file/202/50.jpg" style="width:100%">
        </div>
        <div class="mySlides">
            <img src="https://www.naturespicsonline.com/system/carousel_image/file/206/69.jpg" style="width:100%">
        </div>
        <div class="mySlides">
            <img src="https://www.naturespicsonline.com/system/carousel_image/file/205/71.jpg" style="width:100%">
        </div>
        <a class="arrow arrow-left" id="arrow-left"></a>
        <a class="arrow arrow-right" id="arrow-right"></a>
        <div class="thumbnail">
            <div class="column">
                <img class="demo cursor" src="https://www.naturespicsonline.com/system/carousel_image/file/199/8.jpg" style="width:100%"data-slide="0" alt="The Woods">
            </div>
            <div class="column">
                <img class="demo cursor" src="https://www.naturespicsonline.com/system/carousel_image/file/202/50.jpg" style="width:100%" data-slide="1"   alt="Trolltunga, Norway">
            </div>
            <div class="column">
                <img class="demo cursor" src="https://www.naturespicsonline.com/system/carousel_image/file/206/69.jpg" style="width:100%"   data-slide="2" alt="Mountains and fjords">
            </div>
            <div class="column">
                <img class="demo cursor" src="https://www.naturespicsonline.com/system/carousel_image/file/205/71.jpg" style="width:100%"  data-slide="3" alt="Mountains and fjords">
            </div>
        </div>
    </div>
2. The following CSS code ensures the proper styling and layout of the slideshow. You can customize it to match your website’s design.
* {
  		box-sizing: border-box;
  		margin:0;
  		padding:0;
		}

		img {
		  vertical-align: middle;
		      width: 100%;
                     height: auto;
		}
    .mySlides {
        width: 100%;
        display:none;
         min-height:300px;
         height:90vh;
    }
	.slide-content {
		 position: relative;
  margin: 0;
   padding: 0;
   font-family: Arial, Helvetica, sans-serif;
   width: 100%;

   height:100vh;
	}
    .arrow {
        cursor: pointer;
        position: absolute;
        top: 50%;
        margin-top: -35px;
        width: 0;
        height: 0;
        border-style: solid;
    }

    .arrow-left {
        border-width: 30px 40px 30px 0;
        border-color: transparent #fff transparent transparent;
        left: 0;
        margin-left: 30px;
    }

    .arrow-right {
        border-width: 30px 0 30px 40px;
        border-color: transparent transparent transparent #fff;
        right: 0;
        margin-right: 30px;
    }

    .thumbnail {
        display: flex;
    }

    .column {
        flex: 1;
    }

    .column img {
        width: 100%;
        height: 100%;
    }

    .demo {
        opacity: 0.6;
    }

    .demo:hover,
    .active {
        opacity: 1;
    }
3. Finally, add the following JavaScript code to your project. It controls the slideshow’s functionality. It’s responsible for image transitions and button interactions. Ensure you keep this code intact, and you can customize it as needed.
var strIndex = 0;
    var slides = document.querySelectorAll(".mySlides");
    var demo = document.querySelectorAll(".demo");

    var leftarr = document.getElementById("arrow-left");
    var rightarr = document.getElementById("arrow-right");
    leftarr.addEventListener("click", function() {
        arrSlides(-1);
    });


demo.forEach(function (element){
  element.addEventListener("click", function(){
    var note = element.getAttribute('data-slide');
        currentSlide(parseInt(note));
  });
});


    rightarr.addEventListener("click", function() { arrSlides(1) });

    function reset() {
        for (let i = 0; i < slides.length; i++) {
            slides[i].style.display = "none";
        }
        for (i = 0; i < demo.length; i++) {
            demo[i].className = demo[i].className.replace(" active", "");
        }
    }

    function arrSlides(n) {
        slideShow(strIndex += n);
    }

    function currentSlide(n) {
        slideShow(strIndex = n);
    }

    function slideShow(n) {
        reset();
        var lengt = slides.length - 1;
        if (n < 0) { strIndex = lengt }
        if (n > lengt ) { strIndex = 0 }
        slides[strIndex].style.display = "block";
        demo[strIndex].classList += " active";
    }

slideShow();
That’s all! hopefully, you have successfully created a slideshow in JavaScript with buttons. If you have any questions or suggestions, feel free to comment below.
Similar Code Snippets:

- Bootstrap 5 Gallery With Lightbox
- Pure CSS Image Slideshow with Transition Effects


I code and create web elements for amazing people around the world. I like work with new people. New people new Experiences.
I truly enjoy what I’m doing, which makes me more passionate about web development and coding. I am always ready to do challenging tasks whether it is about creating a custom CMS from scratch or customizing an existing system.