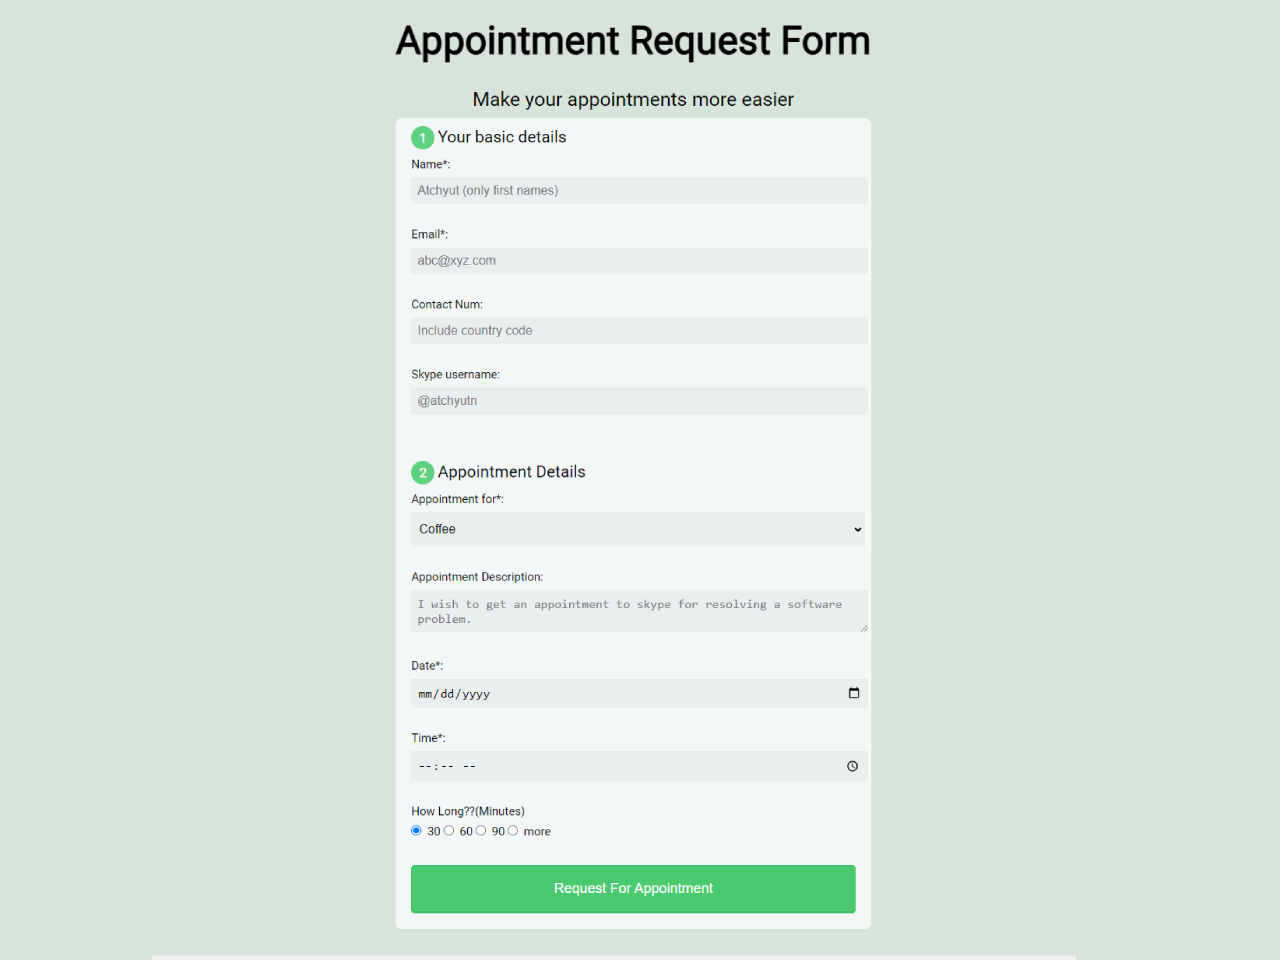

This HTML & CSS code snippet helps you to create a simple appointment request form that helps users create appointment requests easily. It comes with a user-friendly interface with fields for basic details and appointment information. This code simplifies appointment scheduling, making it helpful for organizing meetings, coffee dates, or other events efficiently.
You can use this code on your website/web application to create a user-friendly appointment request form. It makes it easy to the appointment scheduling process and enhances your website’s functionality.
How to Create Simple Appointment Request Form Html
1. First of all, load the EasyFill JS by adding the following CDN link into the head tag of your HTML document.
<script type="text/javascript" src="https://github.com/rubyeffect/easy_fill/tree/master/lib/easy_fill-0.0.1.min.js"></script>
2. Inside the <body> tag, create a <form> element to contain your appointment request form. Add the necessary HTML elements for various input fields, labels, and buttons, such as name, email, appointment type, date, and time.
<div id="container">
    <!--This is a division tag for body container-->
    <div id="body_header">
      <!--This is a division tag for body header-->
      <h1>Appointment Request Form</h1>
      <p>Make your appointments more easier</p>

    </div>
    <form action="#" method="post">
      <fieldset>
        <legend><span class="number">1</span>Your basic details</legend>
        <label for="name">Name*:</label>
        <input type="text" id="name" name="user_name" placeholder="Atchyut (only first names)" required pattern="[a-zA-Z0-9]+">

        <label for="mail">Email*:</label>
        <input type="email" id="mail" name="user_email" placeholder="abc@xyz.com" required>

        <label for="tel">Contact Num:</label>
        <input type="tel" id="tel" placeholder="Include country code" name="user_num">

        <label for="skype_name">Skype username:</label>
        <input type="text" id="skype_name" name="skype_name" placeholder="@atchyutn" pattern="[a-zA-Z0-9]+">


      </fieldset>

      <fieldset>
        <legend><span class="number">2</span>Appointment Details</legend>
        <label for="appointment_for">Appointment for*:</label>
        <select id="appointment_for" name="appointment_for" required>
          <option value="coffee">Coffee</option>
          <option value="meeting">Meeting</option>
          <option value="Business">Business</option>
          <option value="lunch">Lunch</option>
          <option value="skype">Skype</option>
          <option value="movie">Movie</option>
          <option value="couple_date">Date</option>
        </select>
        <label for="appointment_description">Appointment Description:</label>
        <textarea id="appointment_description" name="appointment_description" placeholder="I wish to get an appointment to skype for resolving a software problem."></textarea>
        <label for="date">Date*:</label>
        <input type="date" name="date" value="" required></input>
        <br>
        <label for="time">Time*:</label>
        <input type="time" name="time" value="" required></input>
        <br>
        <label for="duration">How Long??(Minutes)</label>
        <input type="radio" name="duration" value="30" checked> 30
        <input type="radio" name="duration" value="60"> 60
        <input type="radio" name="duration" value="90"> 90
        <input type="radio" name="duration" value="more"> more
      </fieldset>
      <button type="submit">Request For Appointment</button>
    </form>
  </div>
3. To style your form and make it user-friendly, add the following CSS styles to your project. You can customize the form’s appearance, fonts, colors, and layout according to your website’s design preferences.
body
{
	background-color:#5fcf80;
}
#body_header
{

	width:auto;
	margin:0px auto;
	text-align:center;
	font-size:25px;
}
form {
  max-width: 640px;
  margin: 10px auto;
  padding: 10px 20px;
  background: #f4f7f8;
  border-radius: 8px;
}

h1 {
  margin: 0 0 30px 0;
  text-align: center;
}

input[type="text"],
input[type="password"],
input[type="date"],
input[type="datetime"],
input[type="email"],
input[type="number"],
input[type="search"],
input[type="tel"],
input[type="time"],
input[type="url"],
textarea,
select {
  background: rgba(255,255,255,0.1);
  border: none;
  font-size: 16px;
  height: auto;
  margin: auto;
  outline: 0;
  padding: 8px;
  width: 100%;
  background-color: #e8eeef;
  color: black;
  box-shadow: 0 1px 0 rgba(0,0,0,0.03) inset;
  margin-bottom: 30px;
}

input[type="radio"],
input[type="checkbox"]

{
  margin: 0 4px 8px 0;
}

select {
  padding: 6px;
  height: 32px;
  border-radius: 2px;
}

button {
  padding: 19px 39px 18px 39px;
  color: #FFF;
  background-color: #4bc970;
  font-size: 18px;
  text-align: center;
  font-style: normal;
  border-radius: 5px;
  width: 100%;
  border: 1px solid #3ac162;
  border-width: 1px 1px 3px;
  box-shadow: 0 -1px 0 rgba(255,255,255,0.1) inset;
  margin-bottom: 10px;
  box-sizing: border-box;
}

fieldset {
  margin-bottom: 30px;
  border: none;
}

legend {
  font-size: 1.4em;
  margin-bottom: 10px;
}

label {
  display: block;
  margin-bottom: 8px;
}

label.light {
  font-weight: 300;
  display: inline;
}

.number {
  background-color: #5fcf80;
  color: #fff;
  height: 30px;
  width: 30px;
  display: inline-block;
  font-size: 0.8em;
  margin-right: 4px;
  line-height: 30px;
  text-align: center;
  text-shadow: 0 1px 0 rgba(255,255,255,0.2);
  border-radius: 100%;
}
Feel free to customize the form further to match your website’s branding and requirements. You can adjust colors, fonts, and form elements as needed.
That’s all! hopefully, you have successfully integrated this simple HTML appointment request form into your web/app project. If you have any questions or suggestions, feel free to comment below.
Similar Code Snippets:

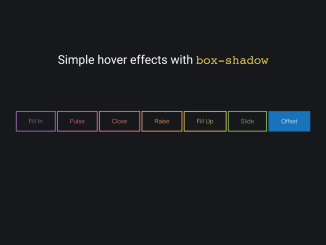
- HTML Button Hover Effects with Box-shadow
- CSS Squishy Button With Smooth Transition
- Wobbly Text Effect Using CSS & SVG
- Toggle Button in CSS With Stretchable Elastic Effect
- Easy Dark Mode Using CSS


I code and create web elements for amazing people around the world. I like work with new people. New people new Experiences.
I truly enjoy what I’m doing, which makes me more passionate about web development and coding. I am always ready to do challenging tasks whether it is about creating a custom CMS from scratch or customizing an existing system.