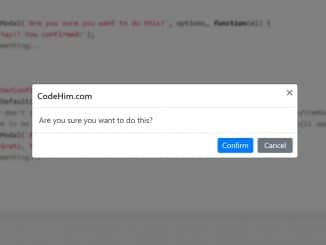
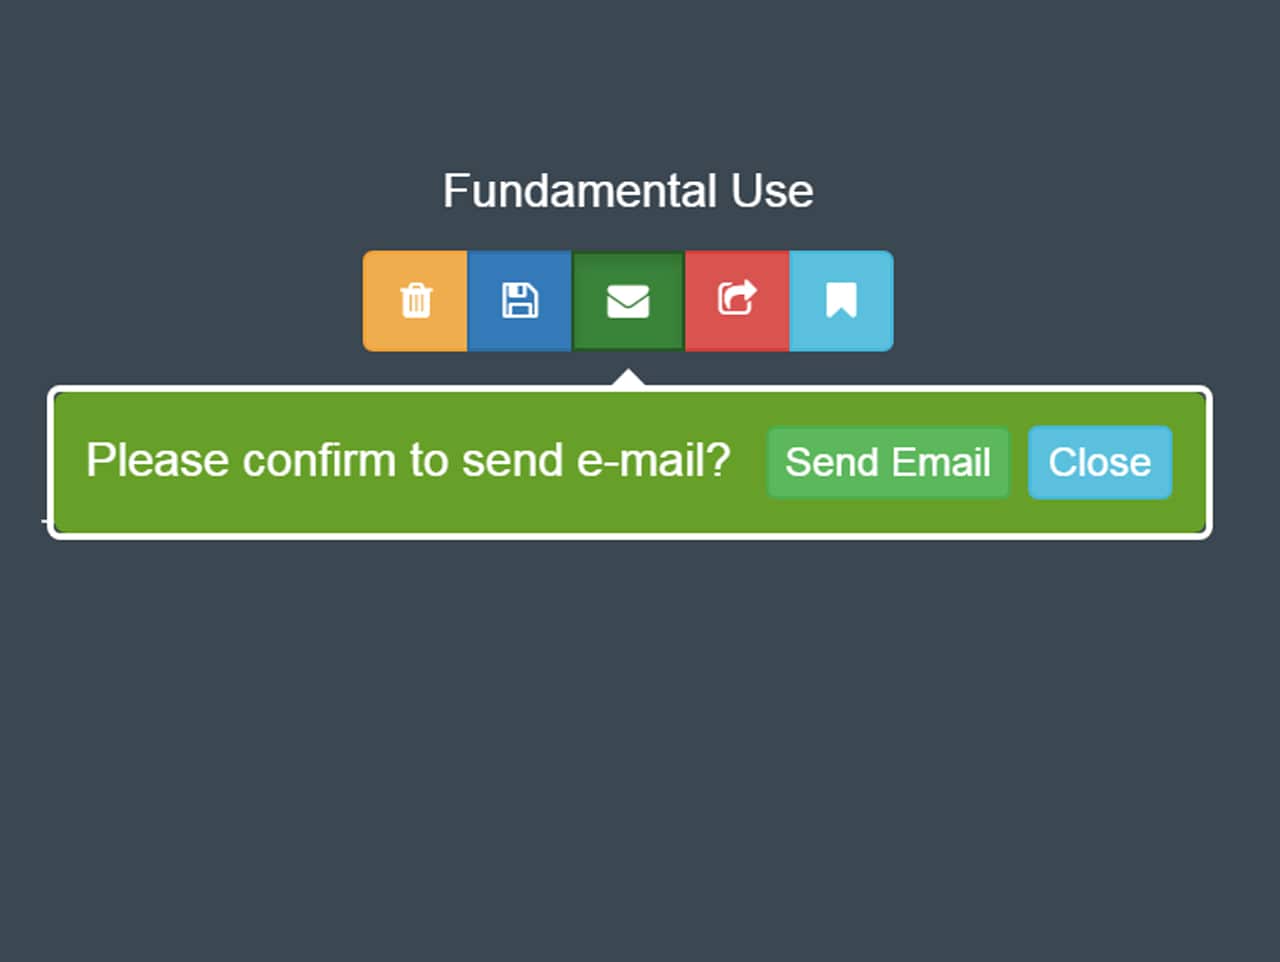
A lightweight jQuery & Bootstrap based plugin to create confirm tooltip with fully customization. The tipConfirm uses the combined structure of both jQuery UI and Bootstrap tooltip elements to show the confirmation dialog in tooltip.
Plugin Preview
How to start using jQuery?
More jQuery Top, Best and New Plugins
Top 100 jQuery Plugins
Plugin Overview
| Plugin: | tipConfirm |
| Author: | Ganpat S. Rajpurohit |
| Licence: | MIT Licence |
| Published: | March 1, 2024 |
| Repository: | Fork on GitHub |
| Dependencies: | jQuery 1.3.1 or Latest version, jQuery UI , Bootstrap 4.1.3 and Font Awesome 4 |
| File Type: | zip archive (HTML, CSS & JavaScript) |
| Package Size: | 949 KB |
How to Use jQuery Confirm Tooltip:
1. To getting started with tipConfirm plugin, first of all load the jQuery, jQuery UI, Font Awesome Iconic CSS and Bootstrap framework into your HTML page.
<!-- jQuery -->
<script src="https://code.jquery.com/jquery-3.3.1.min.js"></script>

<!-- jQuery UI -->
<script src="https://code.jquery.com/ui/1.12.1/jquery-ui.min.js"></script>

<!-- Font Awesome 4-->
<link href="https://stackpath.bootstrapcdn.com/font-awesome/4.7.0/css/font-awesome.min.css" rel="stylesheet" integrity="sha384-wvfXpqpZZVQGK6TAh5PVlGOfQNHSoD2xbE+QkPxCAFlNEevoEH3Sl0sibVcOQVnN" crossorigin="anonymous">

<!-- Bootstrap CSS -->
<link href="https://stackpath.bootstrapcdn.com/bootstrap/4.3.1/css/bootstrap.min.css" rel="stylesheet" integrity="sha384-ggOyR0iXCbMQv3Xipma34MD+dH/1fQ784/j6cY/iJTQUOhcWr7x9JvoRxT2MZw1T" crossorigin="anonymous">

<!-- Bootstrap JS -->
<script src="https://stackpath.bootstrapcdn.com/bootstrap/4.3.1/js/bootstrap.min.js" integrity="sha384-JjSmVgyd0p3pXB1rRibZUAYoIIy6OrQ6VrjIEaFf/nJGzIxFDsf4x0xIM+B07jRM" crossorigin="anonymous"></script>
2. Now, include the tipConfirm’s CSS and JavaScript files into your project.
<!-- CUSTOM STYLES FOR TOOLTIP CONFIRM -->
<link rel="stylesheet" type="text/css" href="css/default.css" />
<link rel="stylesheet" type="text/css" href="css/tip.confirm.css" />

<!-- Tooltip Confirm Js -->
<script src="js/tip.confirm.js"></script>
<script src="js/options.js"></script>
3. Create a link button with the Bootstrap tooltip data attributes and done.
<a href="#" class="btn btn-success btn-sm tc-mail" data-message="Please confirm to send e-mail?" data-theme="green" data-placement="bottom">
<i class="fa fa-envelope"></i>
</a>
Tips: Define the data-message for message that will be shown in the tooltip.
Define the color name in data-theme and define the placement for tooltip in data-placement. For more advance usage, visit the demo page.
Similar Code Snippets:

I code and create web elements for amazing people around the world. I like work with new people. New people new Experiences.
I truly enjoy what I’m doing, which makes me more passionate about web development and coding. I am always ready to do challenging tasks whether it is about creating a custom CMS from scratch or customizing an existing system.

