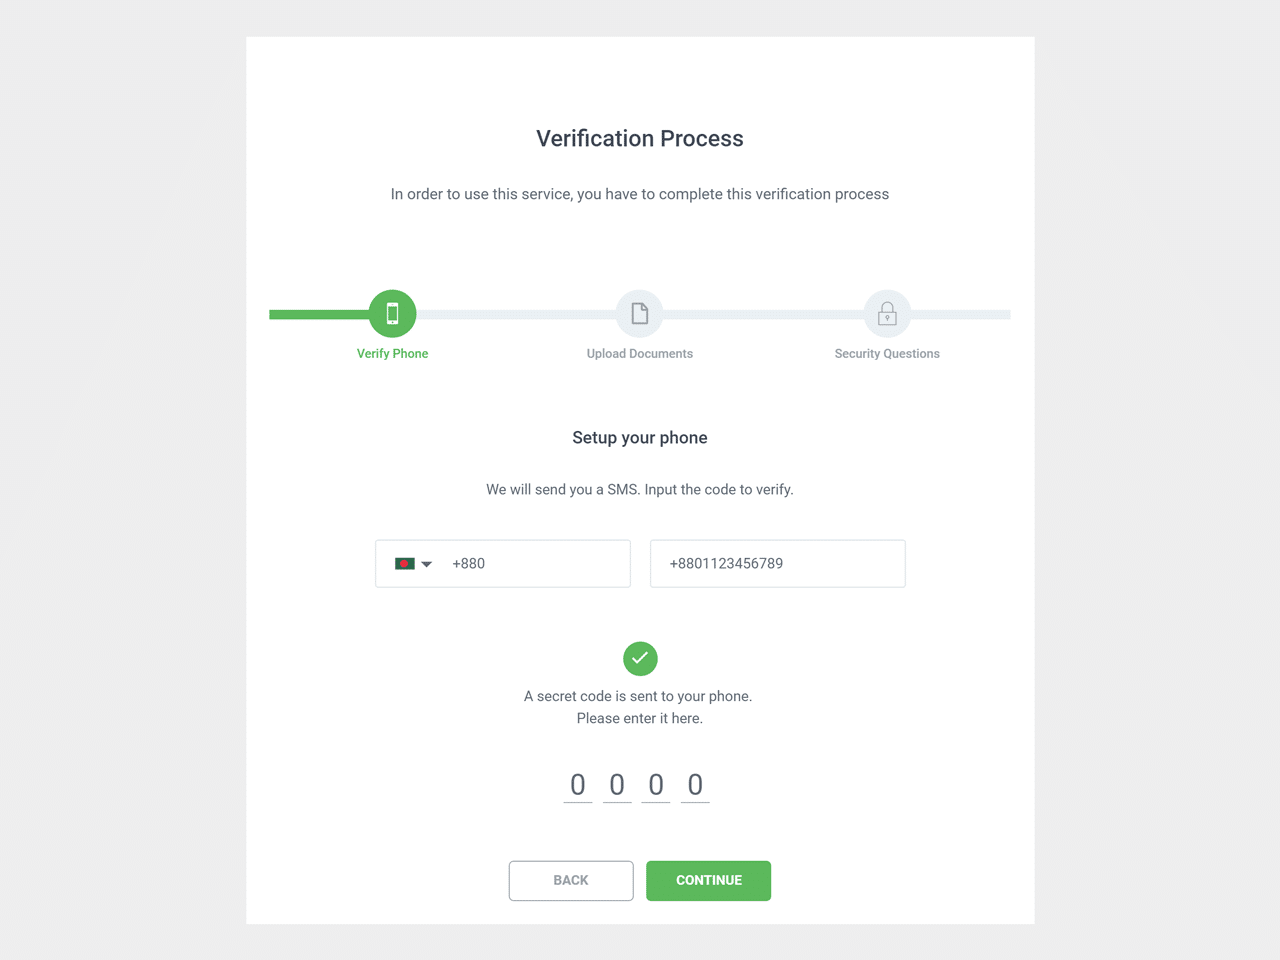

A multi-step form is a useful feature in regards to user experience especially if you have long forms. This Bootstrap code snippet helps you to create multi step form with a progress bar. This Bootstrap form template comes with multiple inputs including international telephone input with country flags.
Basically, this is a three steps form template that allows users to navigate to the next and previous form field. When a user clicks the next step, the next field of the form appears. Similarly, the progress bar indicates the status of the inactive/active steps.
How to create Multi Step Form using Bootstrap
1. First of all, load all the necessary CSS files into the head tag of your HTML document. The telephone input and nice select CSS is optional, you can skip them if you just wanted to create a general multi-step form.
<!-- Normalize CSS -->
<link rel="stylesheet" href="https://cdnjs.cloudflare.com/ajax/libs/normalize/5.0.0/normalize.min.css">
<!-- Bootstrap 4 CSS -->
<link rel='stylesheet' href='https://cdnjs.cloudflare.com/ajax/libs/twitter-bootstrap/4.0.0-beta.2/css/bootstrap.css'>
<!-- Telephone Input CSS -->
<link rel='stylesheet' href='https://cdnjs.cloudflare.com/ajax/libs/intl-tel-input/12.1.2/css/intlTelInput.css'>
<!-- Icons CSS -->
<link rel='stylesheet' href='https://code.ionicframework.com/ionicons/2.0.1/css/ionicons.min.css'>
<!-- Nice Select CSS -->
<link rel='stylesheet' href='https://cdnjs.cloudflare.com/ajax/libs/jquery-nice-select/1.1.0/css/nice-select.min.css'>
<!-- Style CSS -->
<link rel="stylesheet" href="css/style.css">
2. After that, prepare HTML structure for the multi-step form as follows:
<section class="multi_step_form">
  <form id="msform">
    <!-- Tittle -->
    <div class="tittle">
      <h2>Verification Process</h2>
      <p>In order to use this service, you have to complete this verification process</p>
    </div>
    <!-- progressbar -->
    <ul id="progressbar">
      <li class="active">Verify Phone</li>
      <li>Upload Documents</li>
      <li>Security Questions</li>
    </ul>
    <!-- fieldsets -->
    <fieldset>
      <h3>Setup your phone</h3>
      <h6>We will send you a SMS. Input the code to verify.</h6>
      <div class="form-row">
        <div class="form-group col-md-6">
          <input type="tel" id="phone" class="form-control" placeholder="+880">
        </div>
        <div class="form-group col-md-6">
          <input type="text" class="form-control" placeholder="+8801123456789">
        </div>
      </div>
      <div class="done_text">
        <a href="#" class="don_icon"><i class="ion-android-done"></i></a>
        <h6>A secret code is sent to your phone. <br>Please enter it here.</h6>
      </div>
      <div class="code_group">
        <input type="text" class="form-control" placeholder="0">
        <input type="text" class="form-control" placeholder="0">
        <input type="text" class="form-control" placeholder="0">
        <input type="text" class="form-control" placeholder="0">
      </div>
      <button type="button" class="action-button previous_button">Back</button>
      <button type="button" class="next action-button">Continue</button>
    </fieldset>
    <fieldset>
      <h3>Verify Your Identity</h3>
      <h6>Please upload any of these documents to verify your Identity.</h6>
      <div class="passport">
        <h4>Govt. ID card <br>PassPort <br>Driving License.</h4>
        <a href="#" class="don_icon"><i class="ion-android-done"></i></a>
      </div>
      <div class="input-group">
        <div class="custom-file">
          <input type="file" class="custom-file-input" id="upload">
          <label class="custom-file-label" for="upload"><i class="ion-android-cloud-outline"></i>Choose file</label>
        </div>
      </div>
      <ul class="file_added">
        <li>File Added:</li>
        <li><a href="#"><i class="ion-paperclip"></i>national_id_card.png</a></li>
        <li><a href="#"><i class="ion-paperclip"></i>national_id_card_back.png</a></li>
      </ul>
      <button type="button" class="action-button previous previous_button">Back</button>
      <button type="button" class="next action-button">Continue</button>
    </fieldset>
    <fieldset>
      <h3>Create Security Questions</h3>
      <h6>Please update your account with security questions</h6>
      <div class="form-group">
        <select class="product_select">
          <option data-display="1. Choose A Question">1. Choose A Question</option>
          <option>2. Choose A Question</option>
          <option>3. Choose A Question</option>
        </select>
      </div>
      <div class="form-group fg_2">
        <input type="text" class="form-control" placeholder="Anwser here:">
      </div>
      <div class="form-group">
        <select class="product_select">
          <option data-display="1. Choose A Question">1. Choose A Question</option>
          <option>2. Choose A Question</option>
          <option>3. Choose A Question</option>
        </select>
      </div>
      <div class="form-group fg_3">
        <input type="text" class="form-control" placeholder="Anwser here:">
      </div>
      <button type="button" class="action-button previous previous_button">Back</button>
      <a href="#" class="action-button">Finish</a>
    </fieldset>
  </form>
</section>
3. Finally, load the jQuery, Bootstrap 4 JS, Popper JS, and multi-step form initialization script just before closing the body tag. The jQuery Easing library and telephone input JS are optional.
<!-- jQuery -->
<script src='https://cdnjs.cloudflare.com/ajax/libs/jquery/3.2.1/jquery.min.js'></script>
<!-- Bootstrap JS -->
<script src='https://cdnjs.cloudflare.com/ajax/libs/twitter-bootstrap/4.0.0-beta/js/bootstrap.min.js'></script>
<!-- jQuery Easing JS -->
<script src='https://cdnjs.cloudflare.com/ajax/libs/jquery-easing/1.3/jquery.easing.min.js'></script>
<!-- Telephone Input JS -->
<script src='https://cdnjs.cloudflare.com/ajax/libs/intl-tel-input/12.1.2/js/intlTelInput.js'></script>
<!-- Popper JS -->
<script src='https://cdnjs.cloudflare.com/ajax/libs/popper.js/1.12.9/umd/popper.min.js'></script>
<!-- jQuery Nice Select JS -->
<script src='https://cdnjs.cloudflare.com/ajax/libs/jquery-nice-select/1.1.0/js/jquery.nice-select.min.js'></script>
<!-- Initialization -->
<script src="js/script.js"></script>
That’s all! Hopefully, this code snippet helps you to build a Bootstrap multi step form with progress bar. If you have any questions or suggestions, let us know by comment below.
See what media say about our webinar:
Survey Report: AI Usage in Frontend Code/Programming – A Global Perspective
Similar Code Snippets:
 Stop Watch with Milliseconds Using Bootstrap 5
 Email Subscription Form HTML CSS
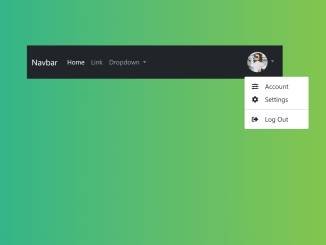 Bootstrap 5 Navbar with Profile Picture
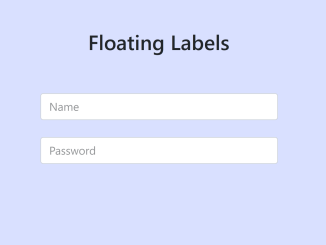 Bootstrap 5 Floating Label input Group
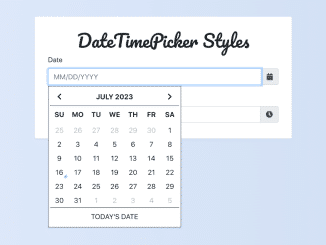 Bootstrap Date and Time Picker
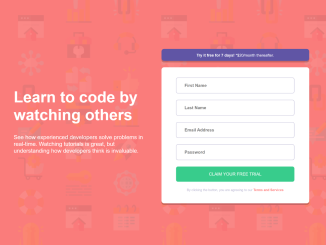 Free Trial Sign Up Page Template
 Modal Carousel Slider Using Bootstrap 5
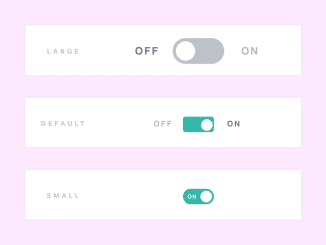 15+ Bootstrap Toggle Switch With Text


I code and create web elements for amazing people around the world. I like work with new people. New people new Experiences.
I truly enjoy what I’m doing, which makes me more passionate about web development and coding. I am always ready to do challenging tasks whether it is about creating a custom CMS from scratch or customizing an existing system.
This is a great example of how to use Bootstrap’s multi-step form with a progress bar. The code is well organized and easy to follow.